A popular summer ingredient and long-held as the secret for long life in Okinawa, Japan’s tropical region in the south, goya or bitter melon doesn’t seem to have the same popularity with foreigner travelers to Japan.
Most have never seen, prepared or even accidentally eaten goya but those who do speak of its bitter taste and supposed health benefits. Along with Japanese fermented soybeans known as natto, and daikon, goya is another Japanese ingredient that harbors animosity in the foreign community with some preaching of its deliciousness and health benefits while others waging war against its bitterness.
As a humble writer, I have lived in both of these camps, but as I have learned, depending on how it’s prepared and served, goya can be a delicious addition to any dinner table. For those wanting to once again dive into the depths of Japanese cuisine, let’s take a comprehensive look at goya.
 Preparation
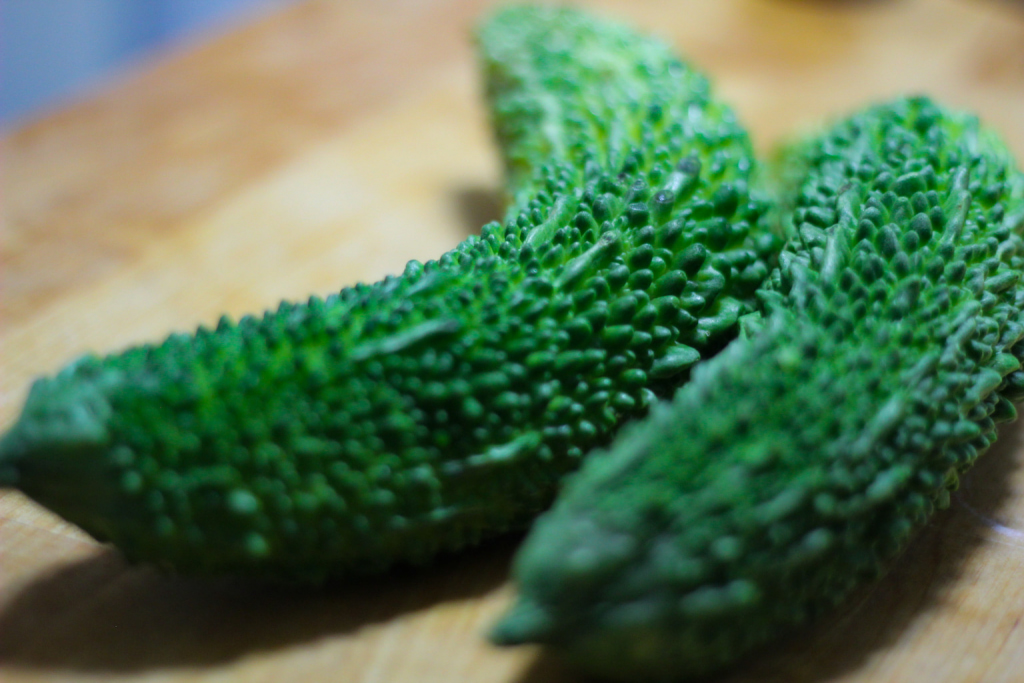
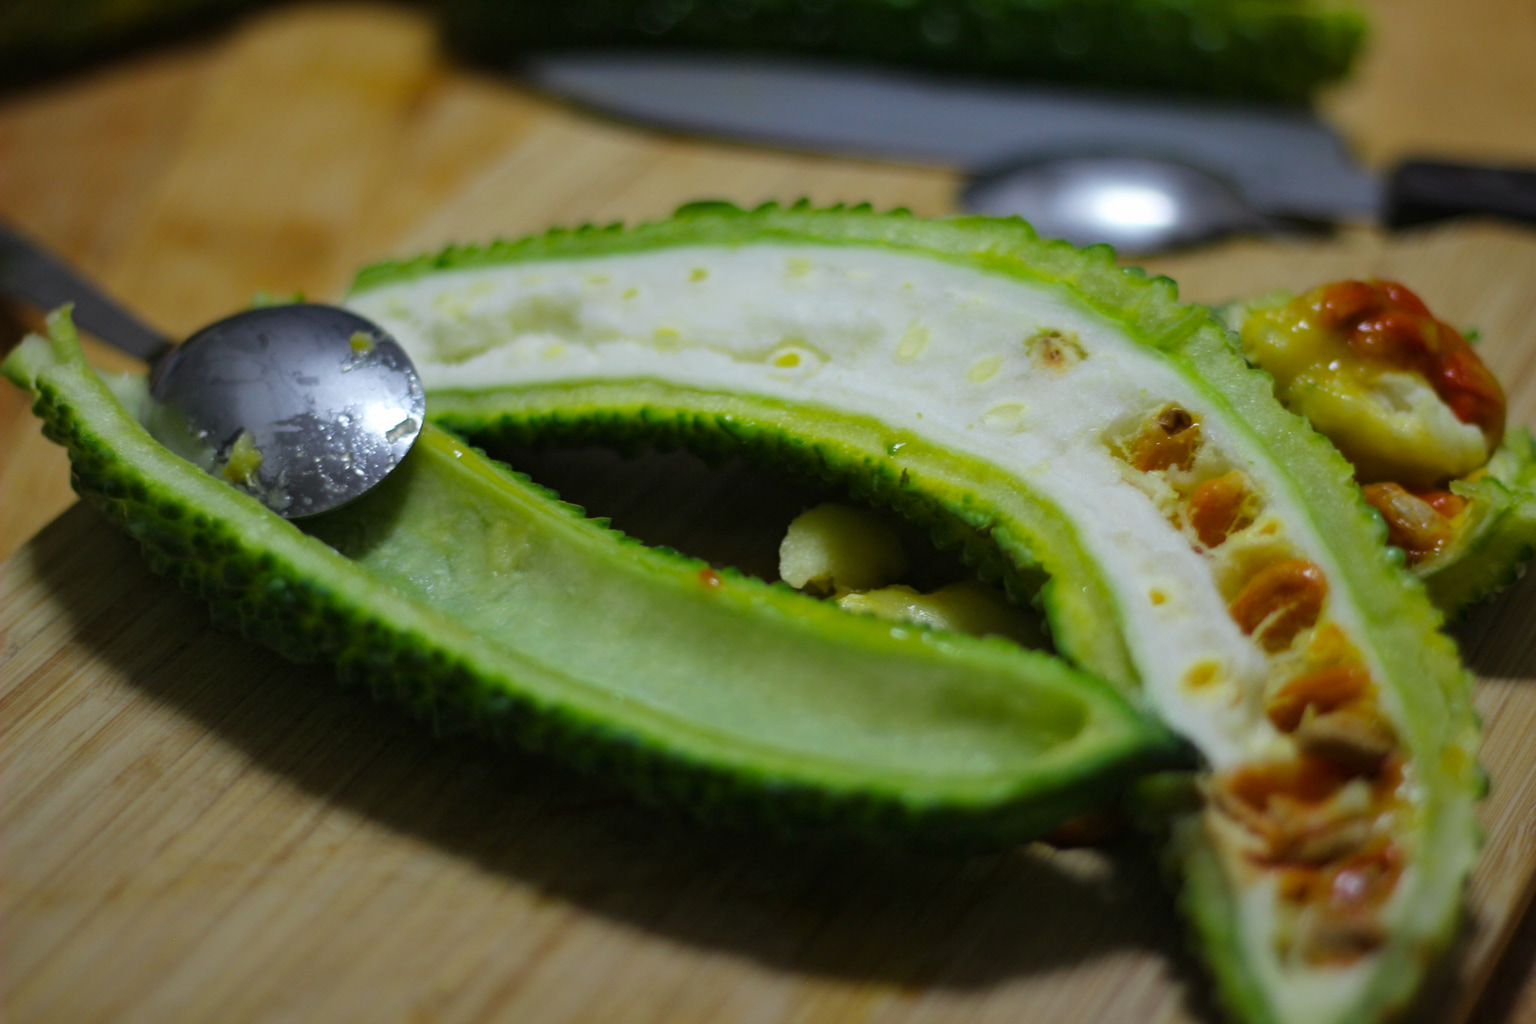
For those who’ve never seen goya before the vegetable is rather intimidating. Green and bumpy, it has all the telltale signs of something not to be consumed, but consume it we will. Start by slicing the goya in half. This will reveal its weird white insides. The insides have a similar texture as to which you’d find inside of a common pepper. Just like a common pepper these white parts give the vegetable a very unpleasantly bitter taste and need to be scooped out before we can go forward. Scoop out all of the white interior being careful not to scrape the goya too much and then give the goya a little rinse under cold water to clear out anything that remains. Perfection – our goya is ready to be turned into something delicious.
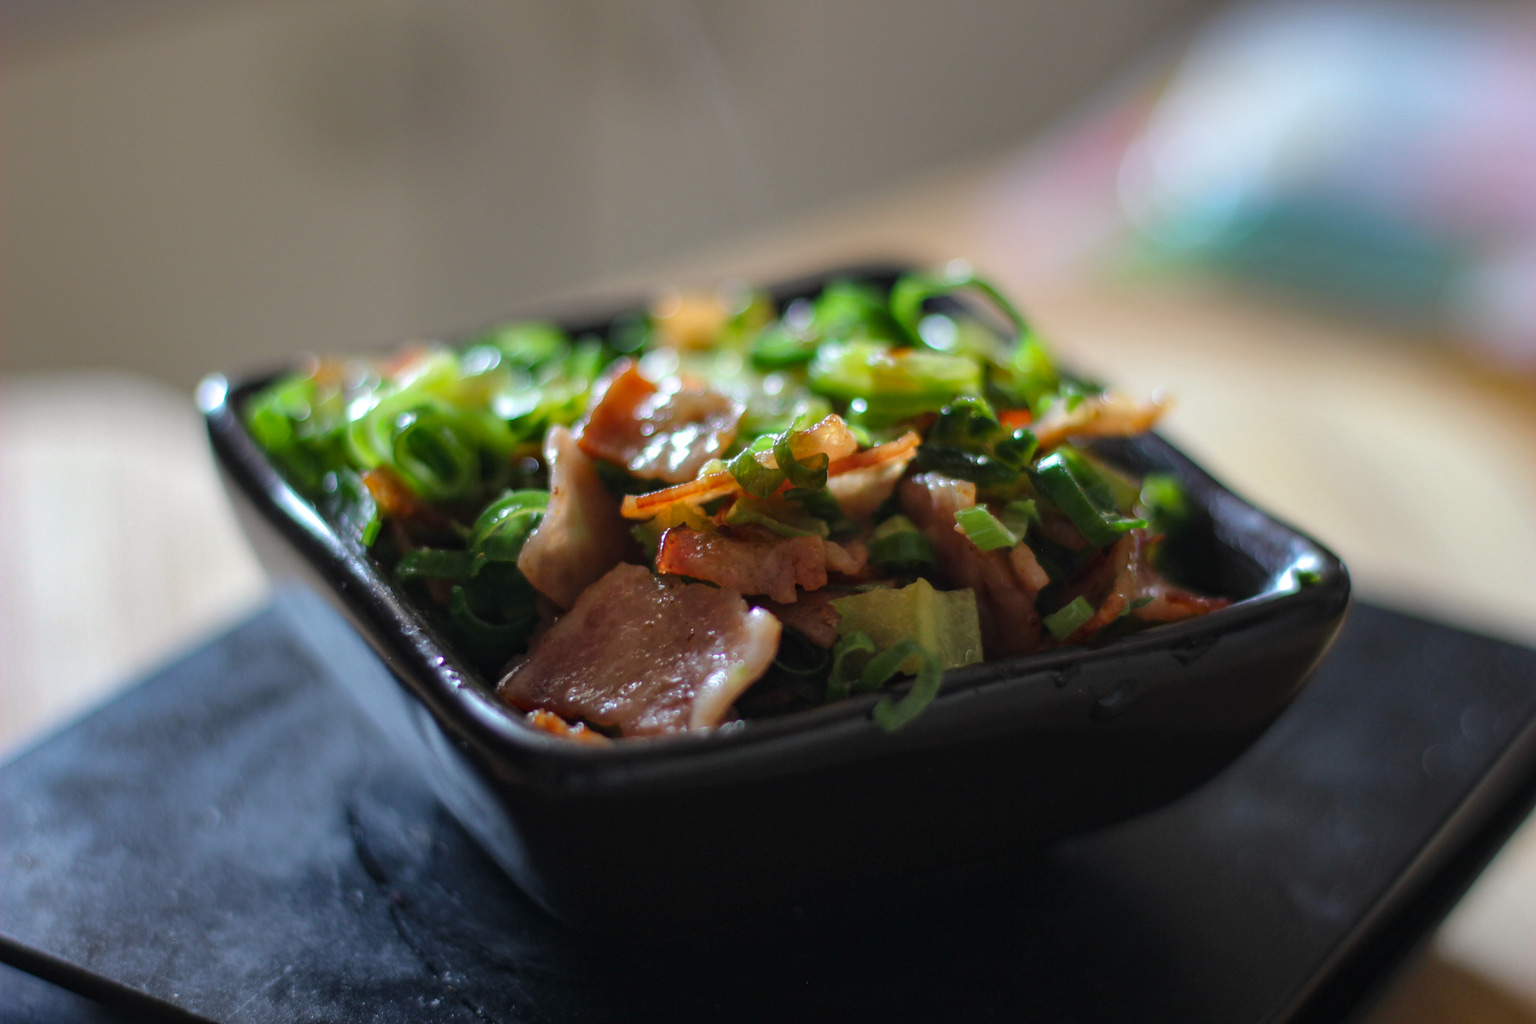
Goya Chanpuru
While researching and testing out different goya recipes I found this one to be, unavoidable. Unavoidable as this dish is a cornerstone of Okinawan cuisine, and one cannot mention goya in polite conversation without someone mentioning this dish – I dare you to test it out yourself.
Imagine a stirfry without adding the rice and you’ve got some idea of the final form of this dish. To make goya chanpuru you’ll need:
50g Goya
3 Eggs
250g Tofu
30g Pork Belly
1 Tbsp Soy sauce
1 Tbsp Dashi
Bonito flakes – for serving
Place the tofu in a paper towel to remove as much of the moisture as possible before tearing it into larger than bitesize pieces. Add a dash of olive oil into a pan and allow the oil to heat up before adding your tofu chunks into the oil. Similarly to agedashi tofu, it’s important not to move the tofu around too much at this stage as we want it to color the tofu without breaking it apart. If your tofu does break, don’t worry as that’s just an extra piece of tofu.
Once the tofu is golden brown on all sides remove the tofu from the pan to a side plate. At this stage we should prepare our pork belly and goya. Slice the pork belly into little chunks while the goya should simply be sliced keeping its crescent moon shape. Add the finely sliced pork belly or bacon or whatever you have on hand to the pan we just used for the tofu and allow the bacon to fry until almost crisp. Once the bacon is almost crisp, add our goya to the same pan and turn the heat down low allowing the goya to cook on both sides. Time for the eggs. Crack three eggs into a bowl adding a dash of milk. The milk just stretches the eggs and allows for a fluffier final product, whisk well.
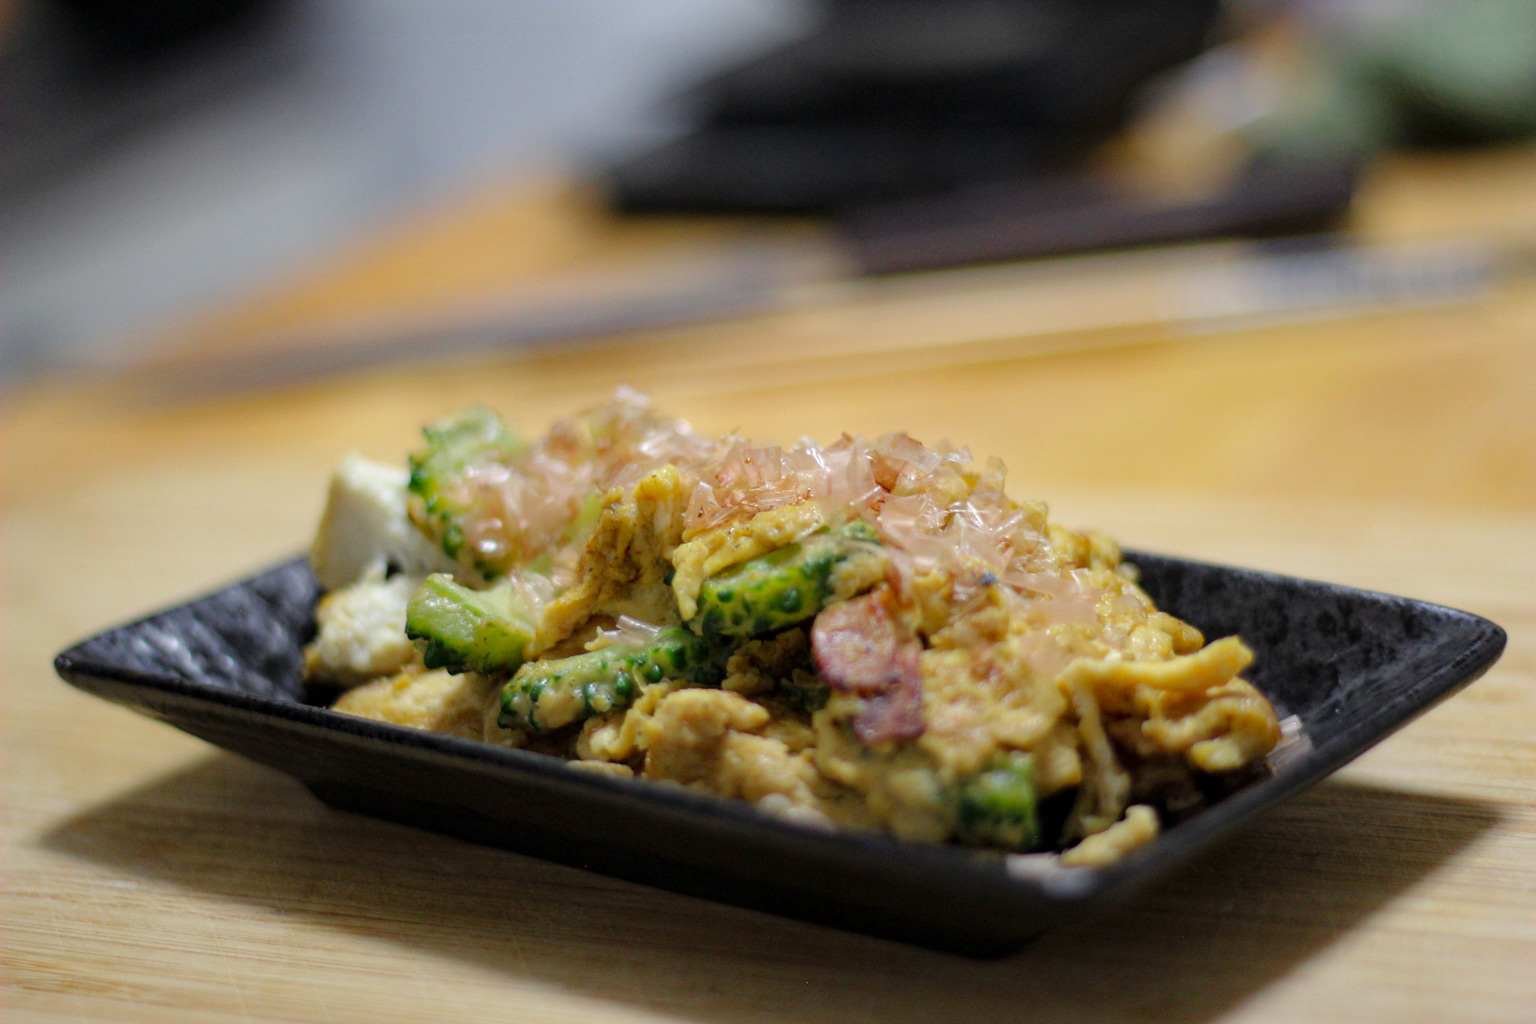
Once the goya has been frying for around 2-3 minutes per side add the tofu back into the pan and agitate the mixture for a minute or two before adding in our eggs. At this stage, we want to grab our spices, add to the mixture 1 tablespoon of both soy sauce and dashi, turn up the heat and fry to completion. We want to move the mixture around enough to be sure that the eggs are fully cooked and the seasoning is fully incorporated without breaking up the egg into too small a piece. Finally, plate the goya chanpuru in an appropriately stylish plate and sprinkle with bonito flakes for a little extra flavor.
Pro Tip: Goya can be pretty bitter, and for those who are trying out this vegetable for the first time you might want to slice their goya into small thin pieces as to not be overwhelmed by its bitterness. Remember the thinner the goya the less time it needs to be fried on both sides.
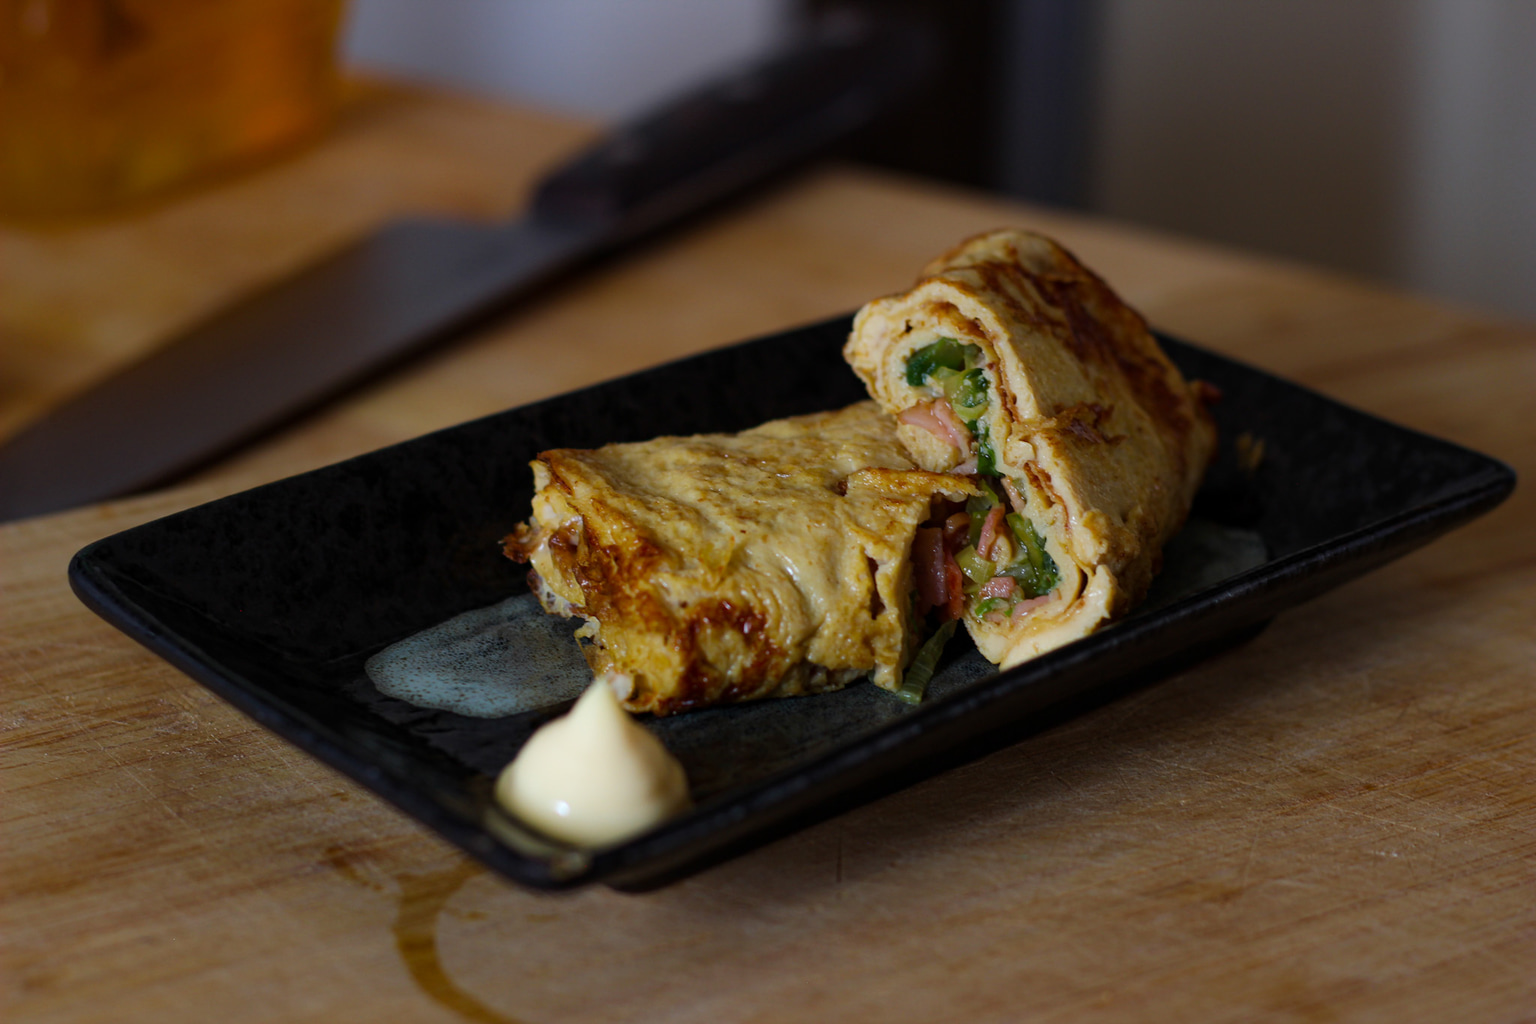
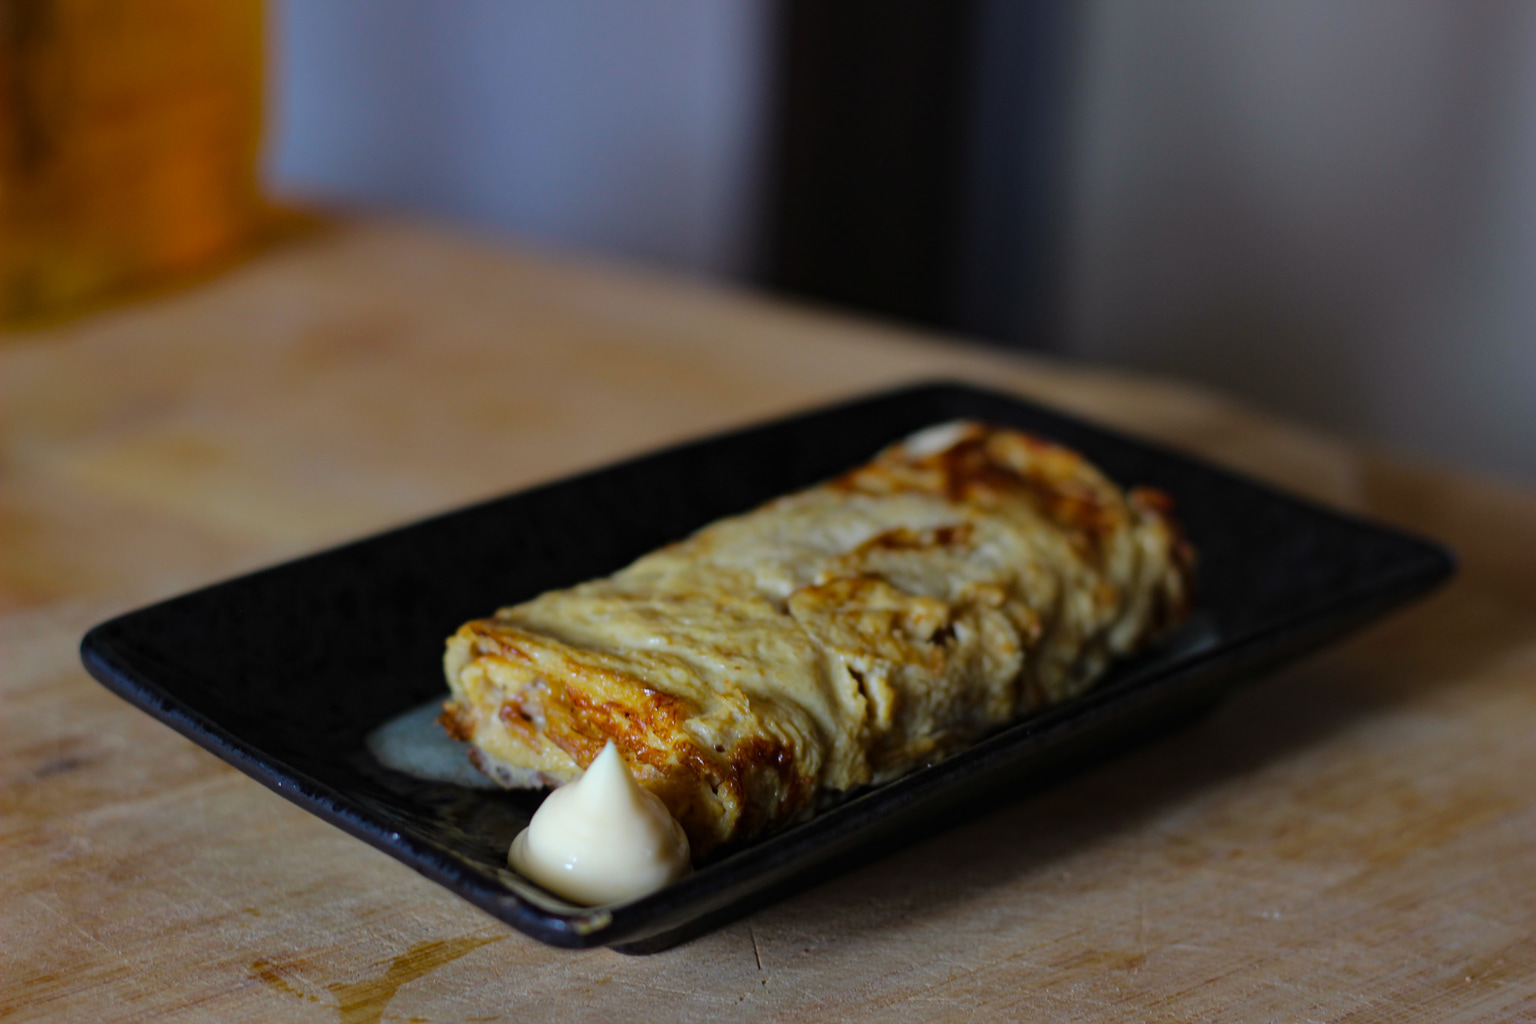
Bacon-Goya Tamagoyaki
The humble tamagoyaki is a Japanese staple, making an appearance in bentos, at the dinner table and izakayas alike. Unlike the classic tamagoyaki, this version will house goya, spring onion and bacon inside the rolled egg itself and thus is a little more difficult. For this dish you’ll need:
3 Eggs
5ml Milk
1 tsp Soy sauce
Dashi
30g Bacon
20g Goya
8g Spring onion
Start by slicing your bacon and goya into manageable pieces, all the time remembering that these pieces need to be snugly secured into a rectangle of fluffy eggs, so keep the slices small. Then in a hot pan with a little butter, or olive oil, fry the bacon until almost crisp, and then add in your goya. As the goya should be sliced pretty thin it should take no time at all to cook completely. Finish with a sprinkling of spring onions and then remove from the heat as we prepare the tamagoyaki mixture.
Crack three eggs into a bowl with a dash of dashi (try and say that 5 times fast), a splash of milk and a teaspoon of soy sauce. A lot of the salt and bitterness of this dish will come from the bacon-goya mixture so don’t worry about under seasoning your eggs at this stage. Whisk together until the eggs and seasonings are perfectly blended.
In a heated buttered tamagoyaki pan place enough of the egg mixture to coat the base of the pan. Remember to keep the heat low at this stage as rushing here will only lead to bad tamagoyaki. As the first layer is almost cooked, spoon in around a tablespoon of your bacon-goya mixture onto the end of your eggy plain and slowly fold taking the utmost care for the mixture not to fall out.
After the first layer is complete it’s a simple task of moving the tiny tamagoyaki to the edge of the pan, adding more of your egg mixture and folding once more. Rinse and repeat until you have a perfectly formed tamagoyaki.
Pro tip: The tamagoyaki part of this dish is always difficult so don’t be disheartened if you make a mistake on your first attempt. Remember low heat, take it slow.
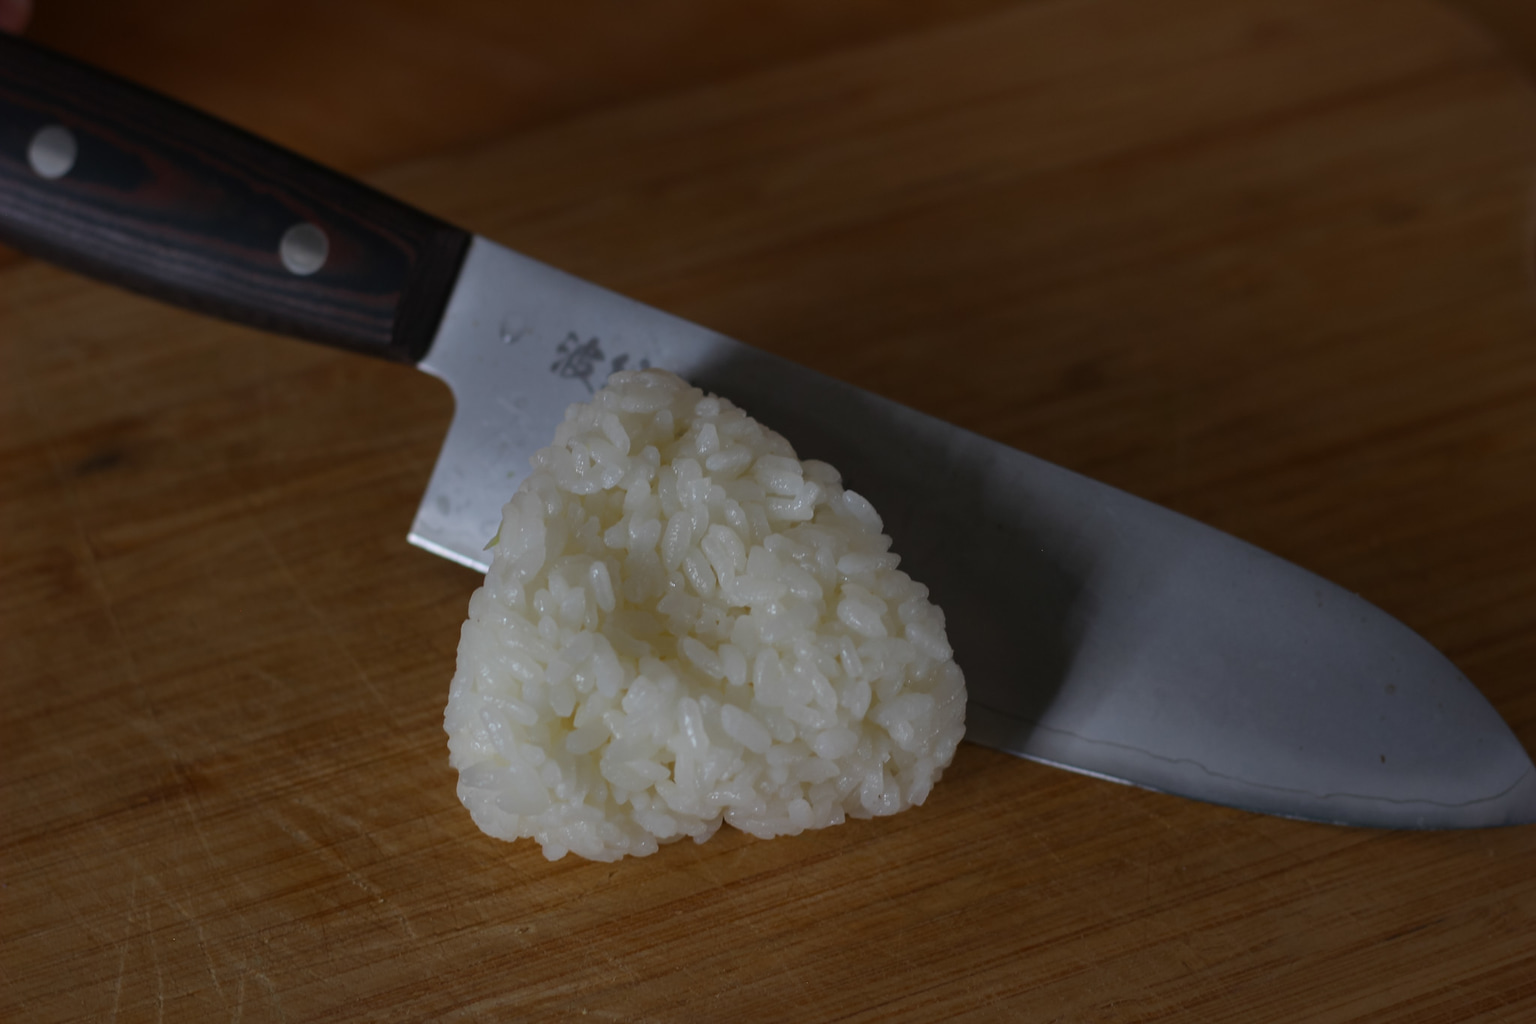
Goya Onigiri
While the delicious goya-bacon mixture, when served inside tamagoyaki, is to die for, the same mixture can be tweaked to become an amazing onigiri filling. For this recipe you’ll need:
30g Bacon
20g Goya
8g Spring onion
1 Tbsp Mayonnaise
1 tsp Mustard
Rice
Start by slicing the bacon and adding it to a hot pan with a knob of butter or a drizzle of your favorite oil. While the bacon is frying slice your goya into little chunks. Unlike the above recipe the goya doesn’t have to be sliced as thin as onigiri is a little less delicate than tamagoyaki. Once the bacon is almost crispy add the goya and stir until the mixture is combined and the goya is cooked through. Finish with a sprinkling of spring onions and then move to a separate bowl and allow to cool for a few minutes.
In the goya bacon mixture bowl add a tablespoon of mayonnaise and a teaspoon of mustard. While any mustard will do whole grain mustard combines a little smoother with mayonnaise and the mustard seeds add another layer of texture to the dish. Stir the mixture in bowl until all the ingredients are combined and then it’s onto forming our onigiri.
For those who have an onigiri maker, this is a simple process of filling the maker halfway with rice, adding the goya mixture, filling the case to the brim and pressing down. However, for those without access to an onigiri maker, onigiris can easily be made by hand.
Set down a piece of clingfilm and onto it add a layer of rice. In the middle of the rice add about a tablespoon of the goya mixture (depending on the size of your onigiri) and then using the clingfilm as a guide mold the rice around the mixture and into the triangular shape that onigiri is so famous for. This simple recipe works wonders in bentos and is a fun way to get a few fussy eaters to have their first experience with goya.
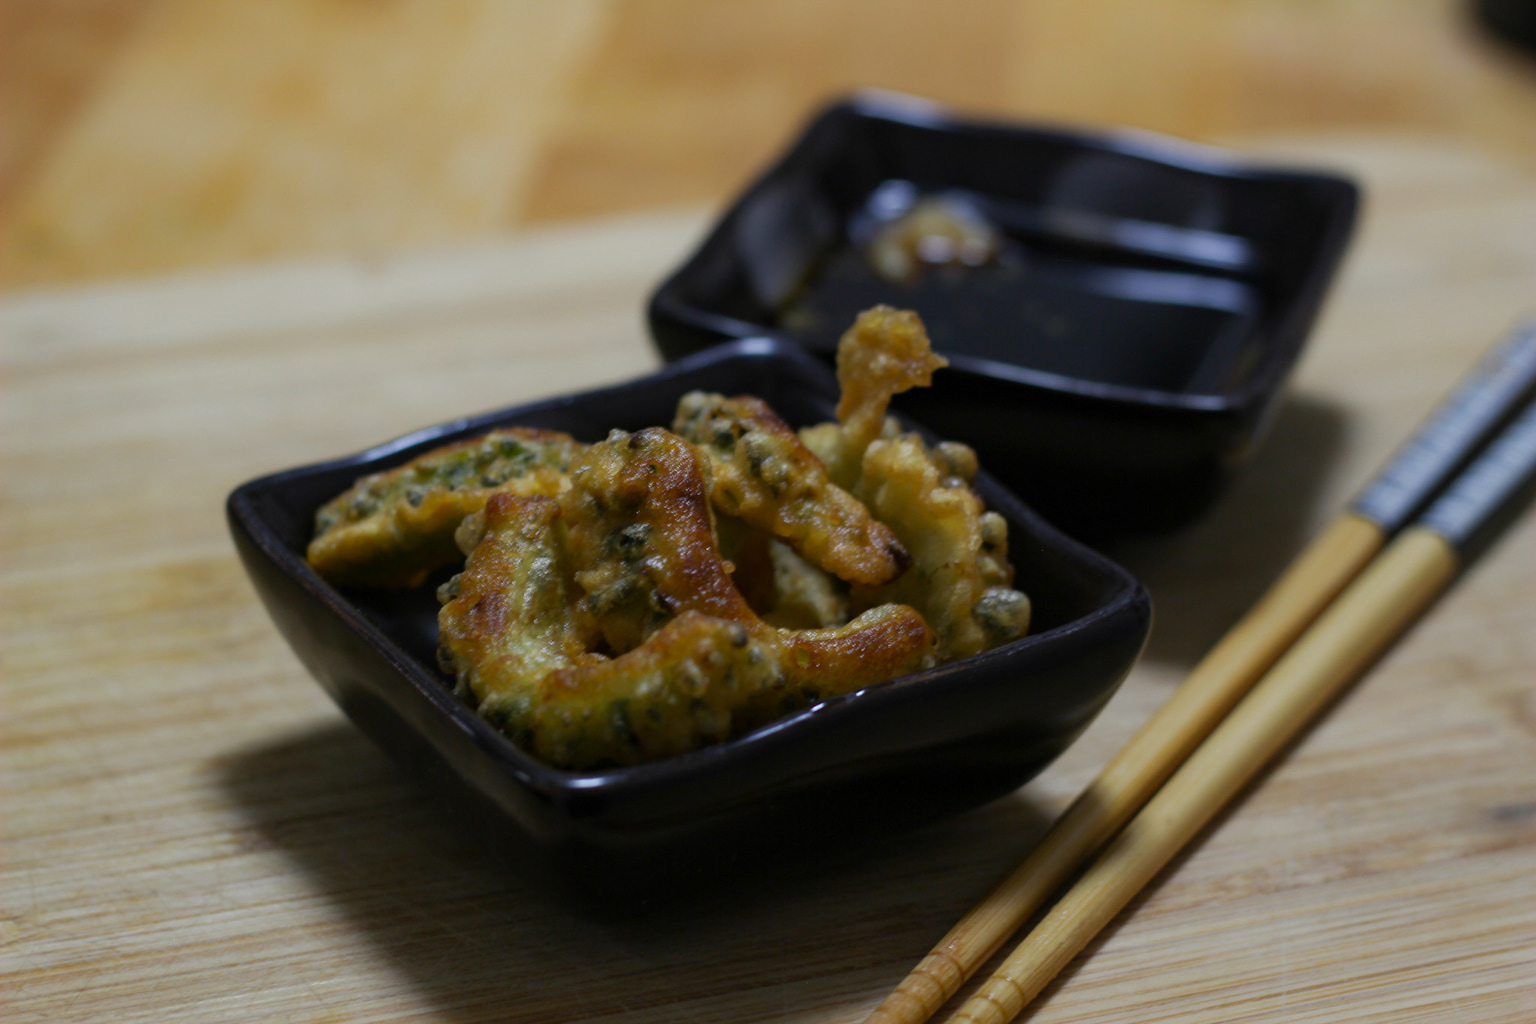
Goya Tempura
Making tempura, or any dish that requires large amounts of hot oil, can be pretty intimidating. kaarage and ebi-ten aside, a simple goya-tempura might just be the best place to start. With no consequences from over or undercooking the goya, goya-tempura is a good place to hone those frying skills. For this dish you’ll need:
60g Tempura flour
Ice water – enough to combine
Goya
Ponzu
Oil (for frying)
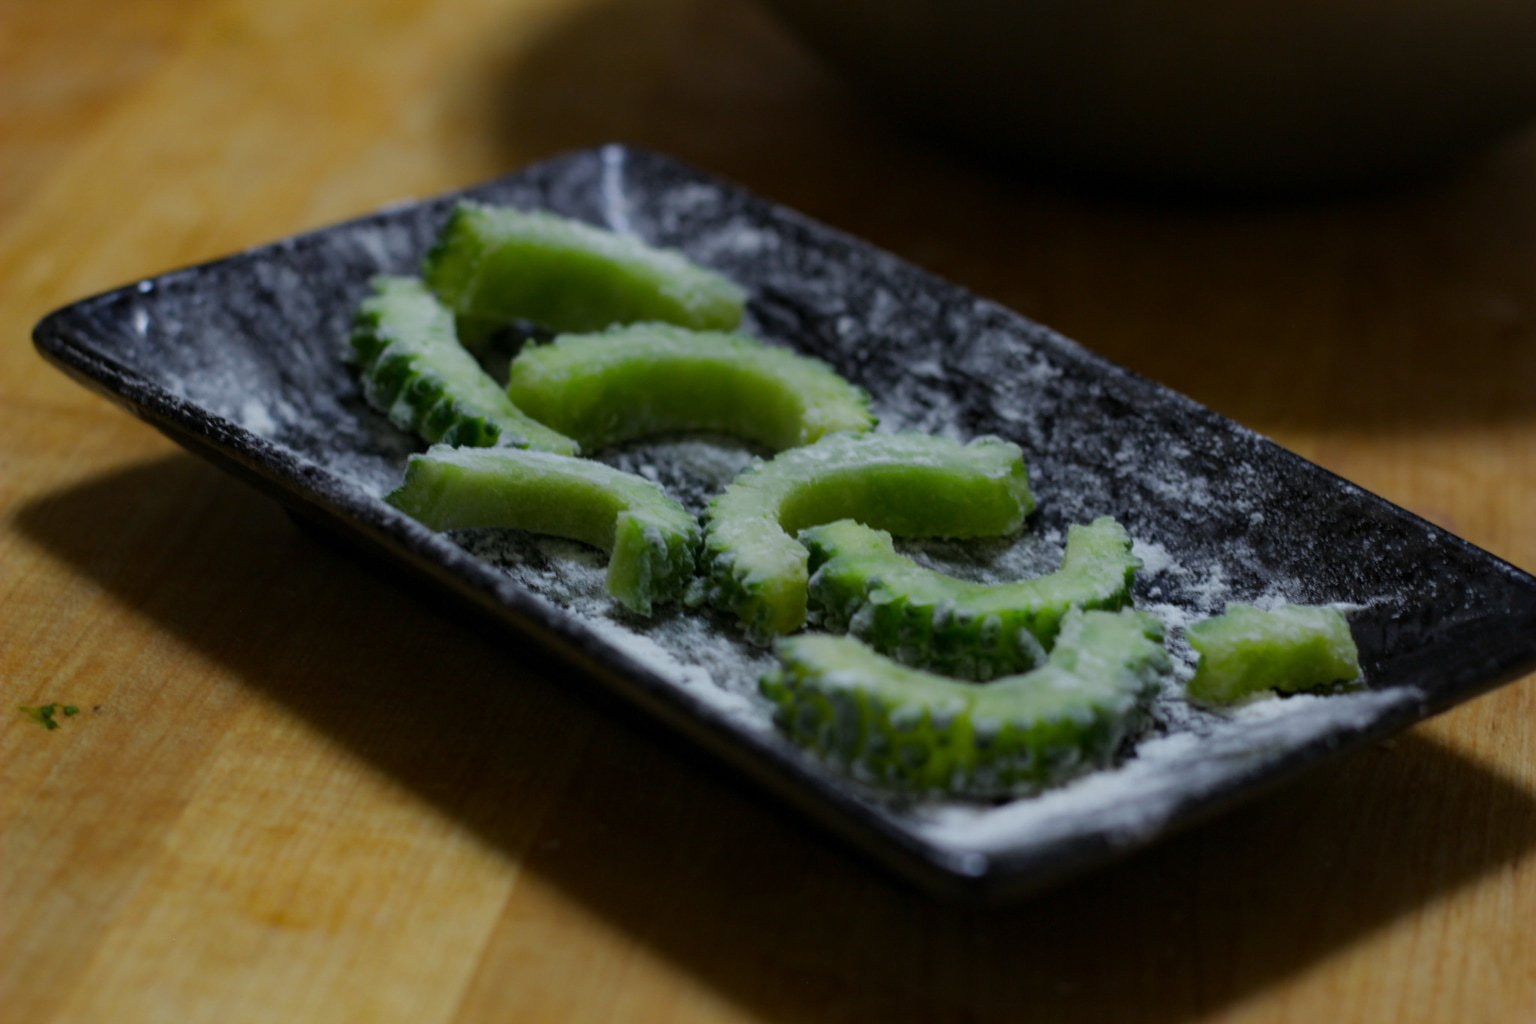
Start by slicing your goya into bite-size semicircles. While other recipes called for thinner slices of goya, as these tend to be less bitter, when making goya-tempura somewhat thicker slices work best as thinner ones tend to burn much more easily. After the goya has been sliced into bitesize pieces place them onto a plate and coat them with a little tempura flour.
Creating tempura batter at home is insanely easy as you only need two things, tempura flour and ice water. Place 60g of tempura flour into a bowl and slowly mix in ice water until your batter has formed a nice slightly watery cake batter-like texture.
For those not living in Japan, tempura flour may be difficult to find, or at the very least very expensive, so a simple way to recreate this recipe at home is followed:
120g all-purpose flour
1 egg
Ice water
Sift 120 grams of all-purpose flour (around 1 cup for our American readers) into a large bowl. To that add one beaten egg, and then just like before slowly stir in ice water until the mixture is smooth and without lumps. For those who want to add a little extra kick to their tempura, a tiny dash of soy sauce to the batter or a little dashi goes a long way.
Once the tempura batter has been made, dip the floured goya into the tempura batter and place it into a pan of hot oil to fry. When the batter turns a crisp golden brown it can be removed and is ready to be served with a ponzu dipping sauce.
Pro tip: For those who want a little extra kick add a little crushed ginger into the ponzu sauce and serve it with ice-cold beer, you can thank me later.
Updated On January 7, 2021