A sandwich wrapped in plastic, a flask of soup or a meticulously arranged symphony of food – all of these things can be considered a bento, the single-portion, home-packed meal common at Japanese work cafeterias, picnics and any other time a lunch-on-the-go is necessary.
Anyone who has seen a meticulously crafted bento can be intimidated to bring their own packed lunch to a social occasion. But with time and practice anyone can create a bento masterpiece of their own, and just like a color-by-number picture book, this article will teach the basics of bento-making and share a few pro tips and tricks to help you along your bento journey.
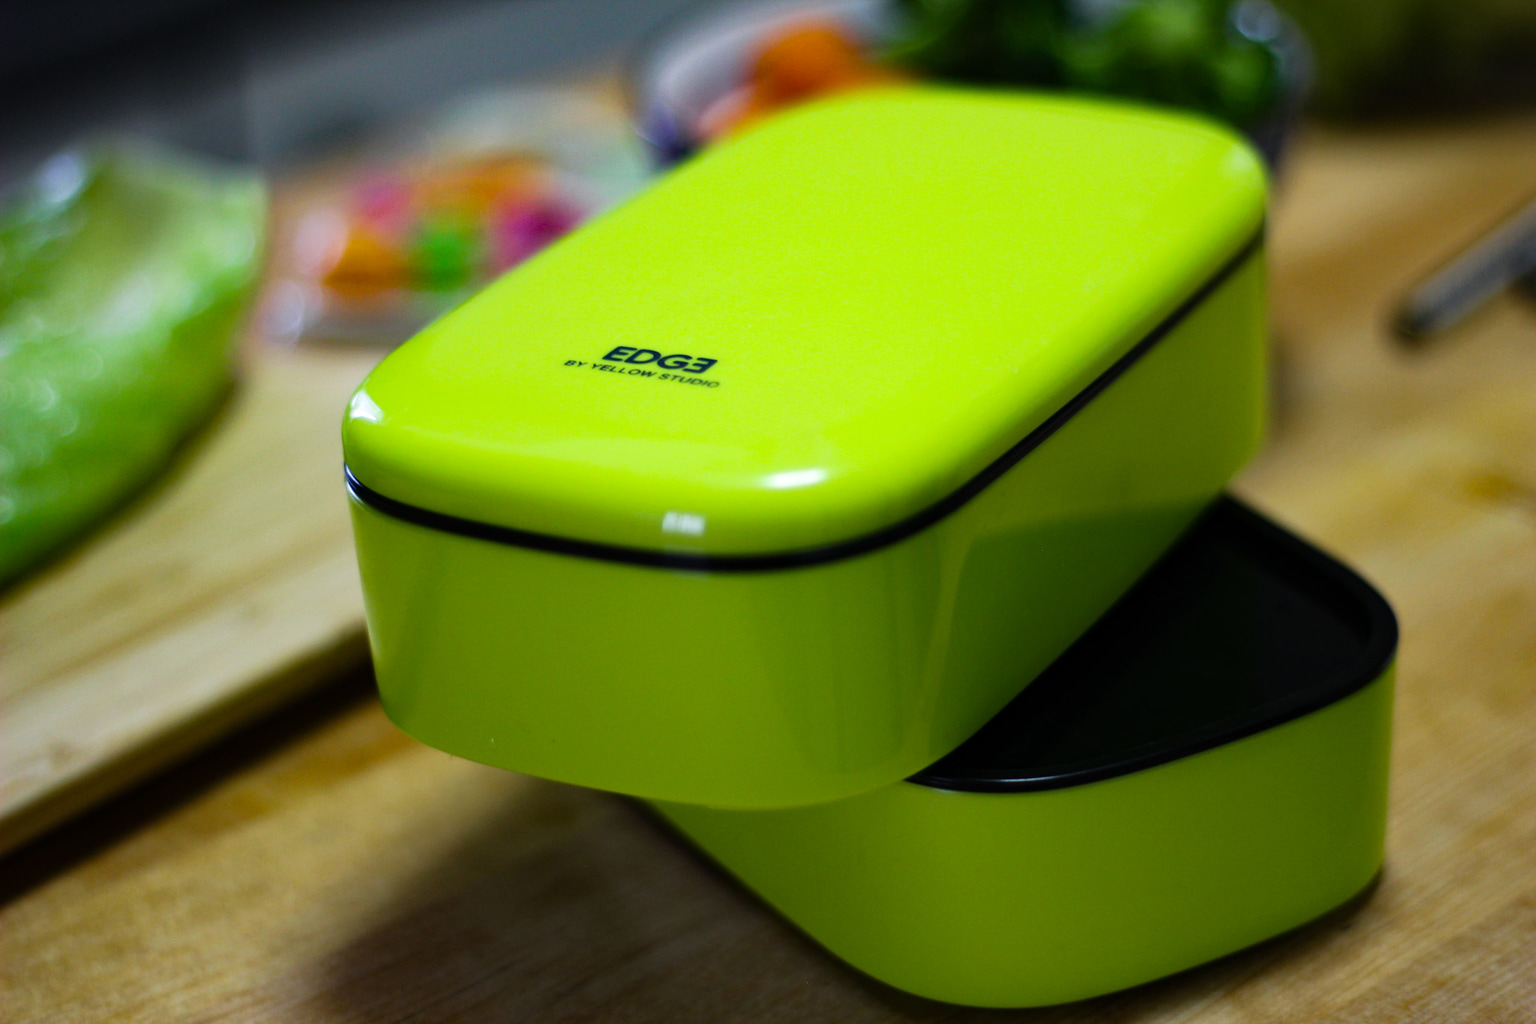
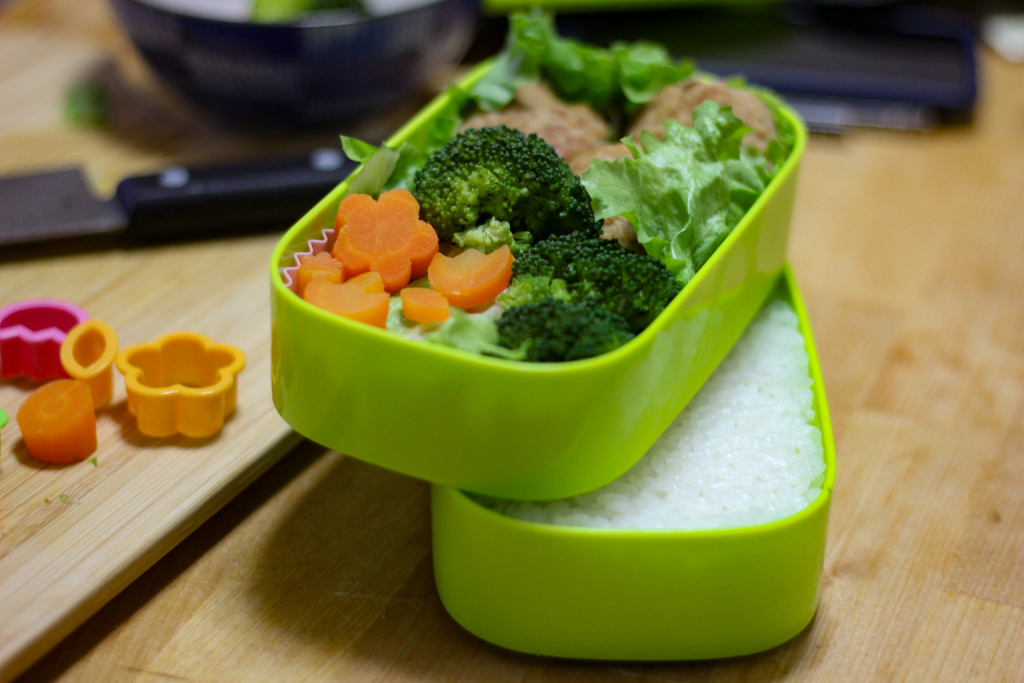
The Double Decker Bento Box
Color, nutritional balance and the general arrangement of the food items, these are a few things one must keep in mind when crafting your own Japanese-style bento.
When it comes to the traditional bento box you first must eat with your eyes. For beginners, the two-layer or double-decker bento box is a good choice as the two layers are a little more forgiving when it comes to crafting a bento. One layer should be entirely dedicated to rice and the other, the sides. This makes arranging the bento a lot more straightforward as there are fewer elements to juggle.
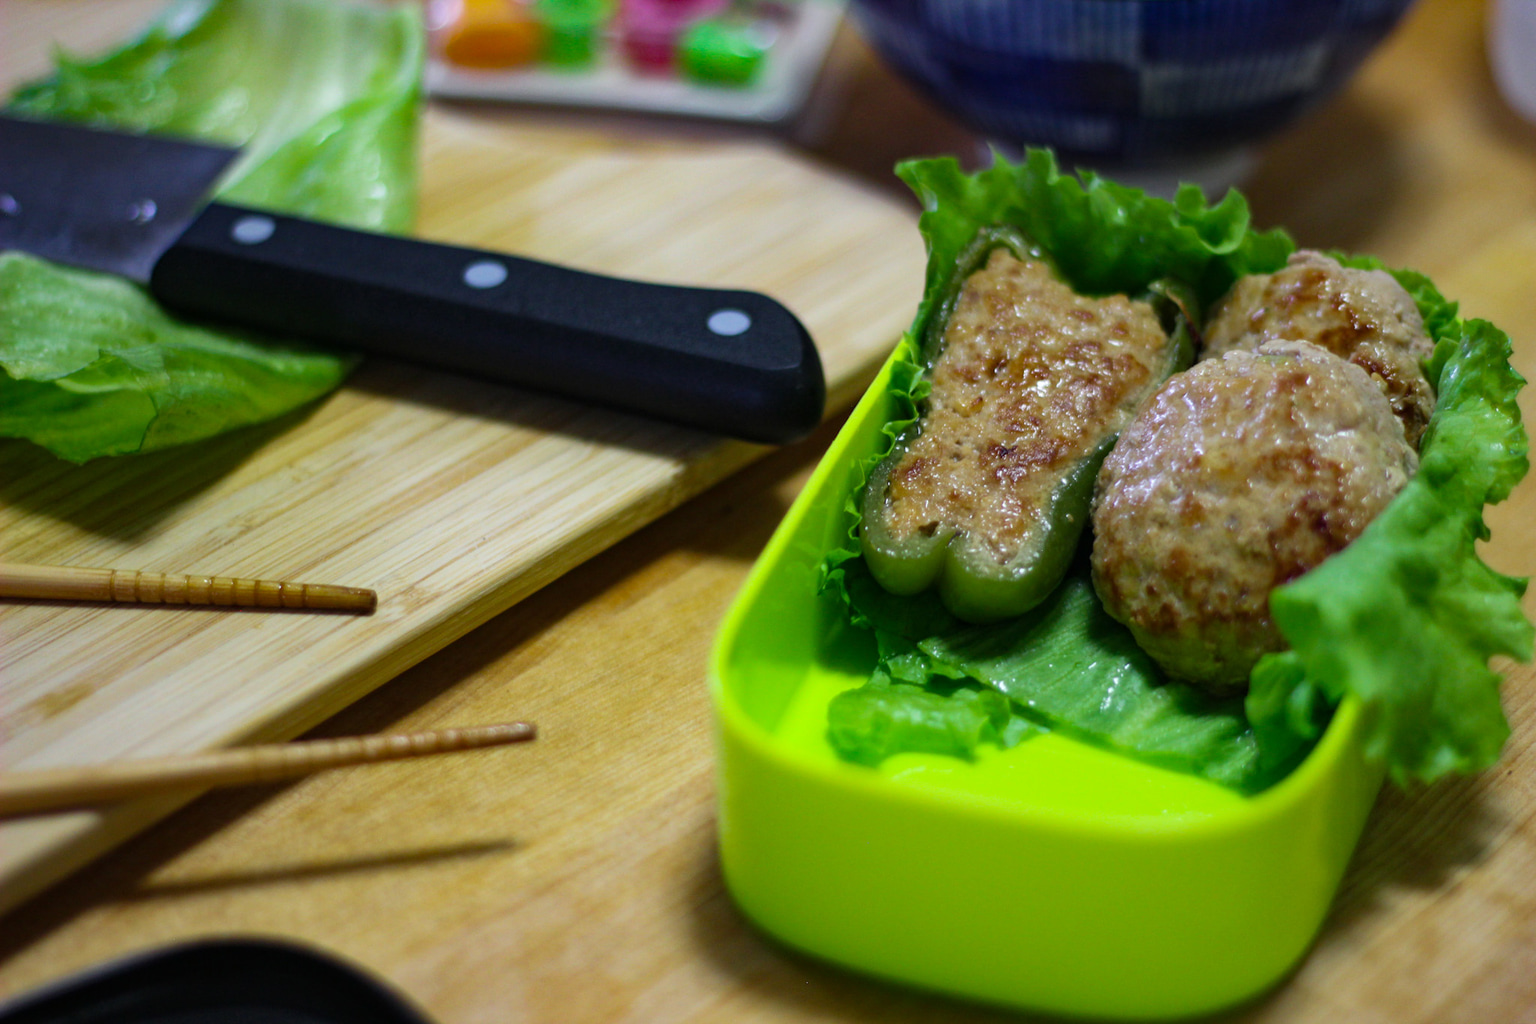
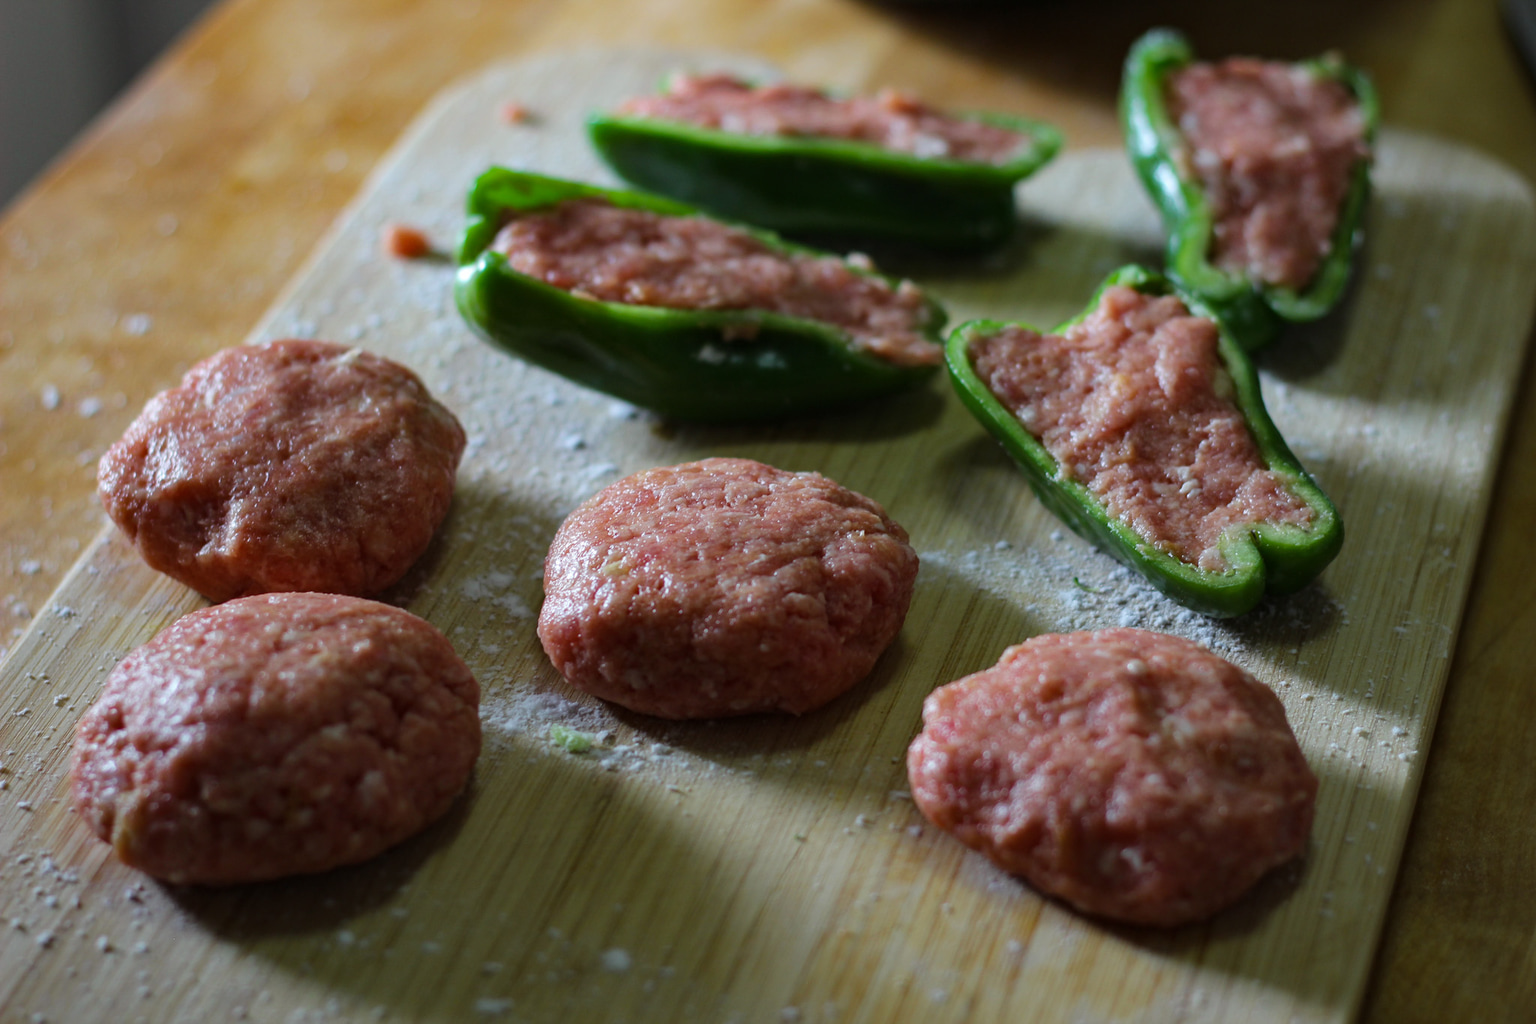
For this, a delicious hambagu nikupiman bento, lettuce was used as a nest in order to allow for more control in the placement. If an element is too low or high it’s easy to add or remove salad as one sees fit. The key here is to present the meat element of the bento box, it shouldn’t be too hidden but at the same time, the area shouldn’t look empty. The green and orange of the vegetables also satisfy some of the color elements we need for this bento to really pop.
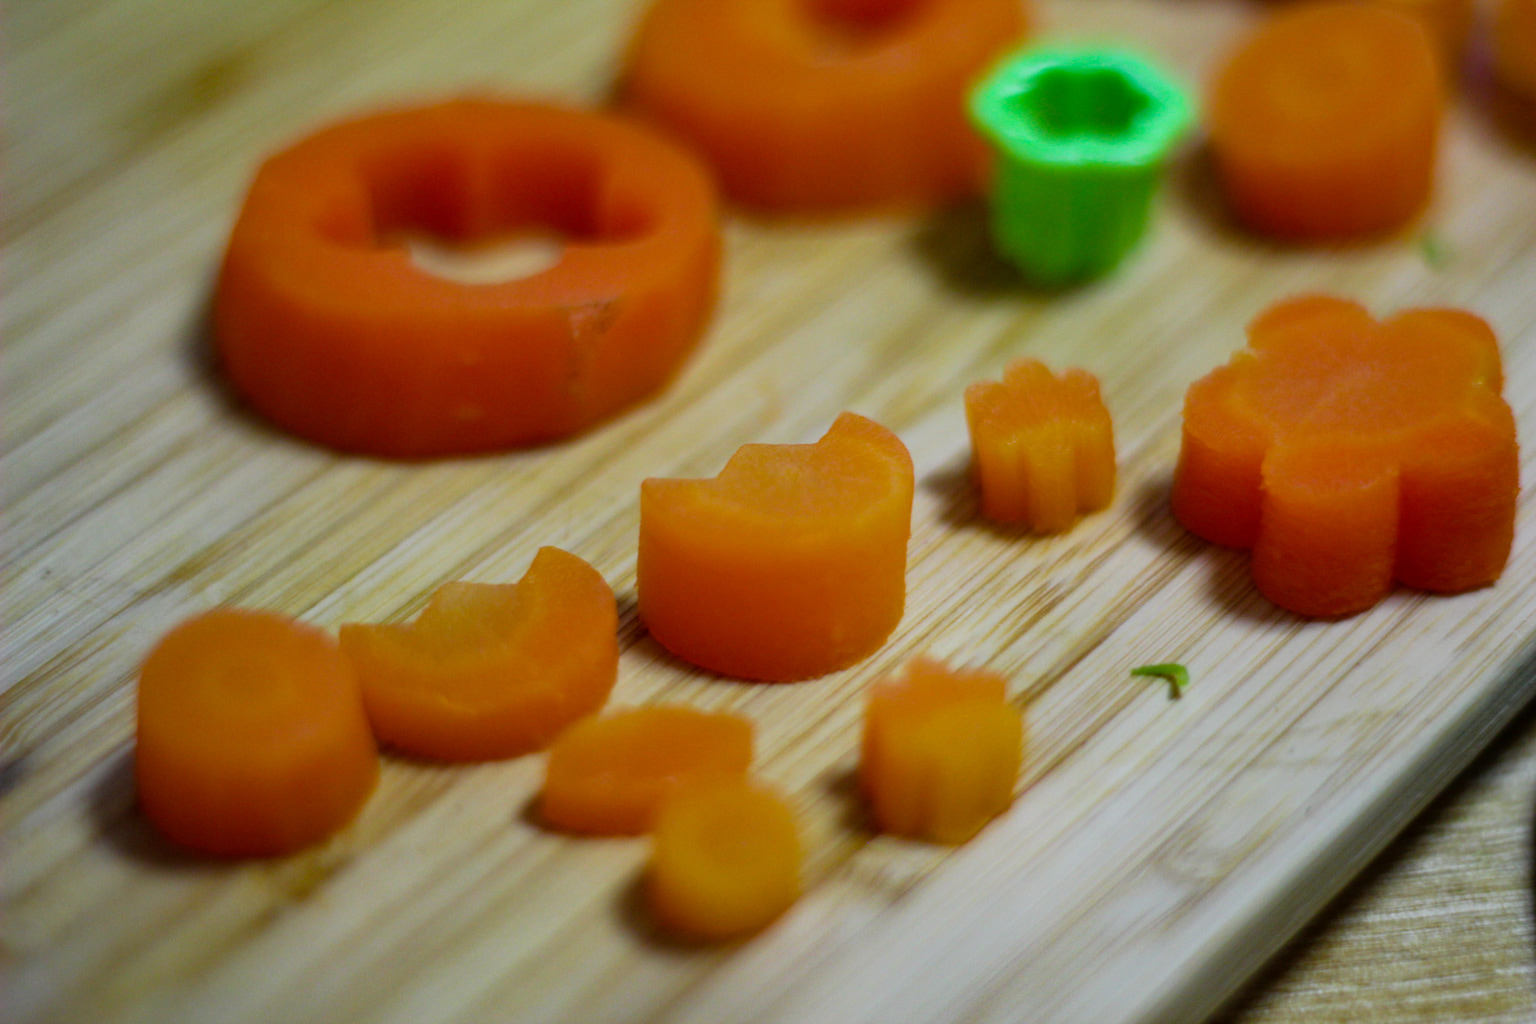
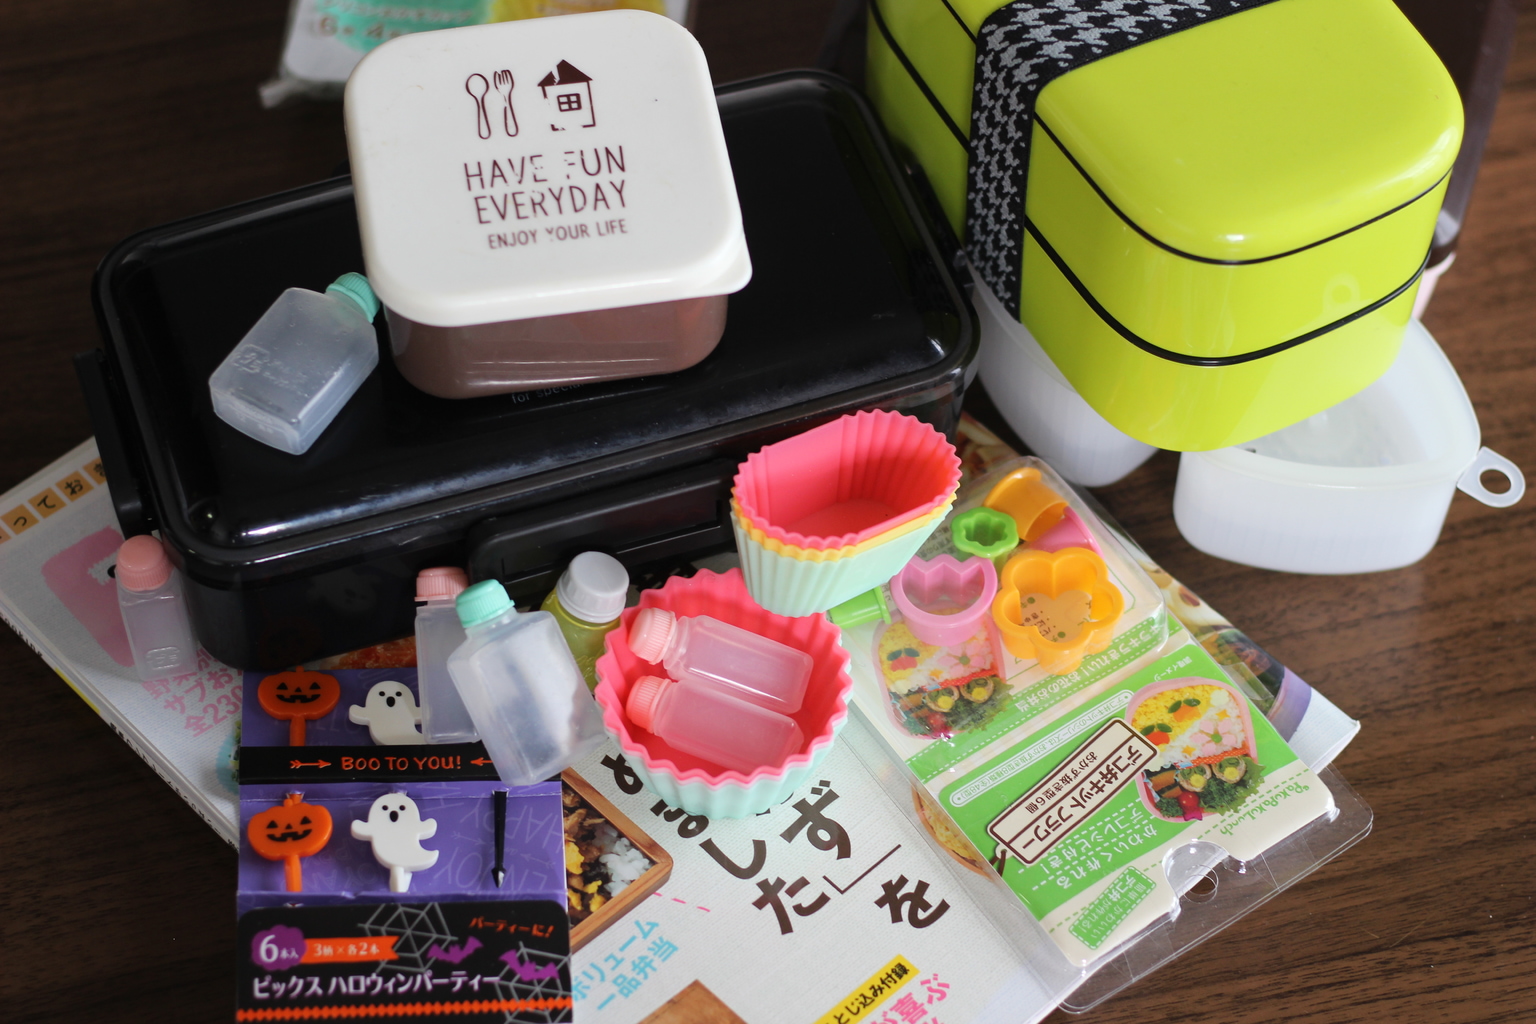
For those, like me, who want to create a bento that will wow the office, consider investing in a few silicon cups, which can be picked up from any 100 yen store. These cups are colorful, reusable and can be shaped to almost any bento box, making them the perfect ally for bento crafting. More often than not these cups are used for smaller vegetables which would otherwise scatter around if not placed in some kind of stylish container. There are also fun little cutters to cup vegetables into adorable shapes. That’s one way to get your five a day I guess.

Pro Tip: A bento is not a puzzle, by which I mean the ingredients won’t perfectly slot together. Nine out of 10 times you’ll be left with gaps, which can make the bento look a little unappealing. To solve this problem we only need to look back to the first item we placed into our bento, shredded lettuce or cabbage. This versatile vegetable can easily slot itself into all of the empty-looking spots. Fill up all of these spaces to a level where you can no longer see the bottom of the bento, and boom, you have yourself a perfectly crafted bento.
The Classic Bento
While the classic bento does allow for more creativity it is also less forgiving than its double-decker counterpart. Just as we did with the double-decker bento we must first have all our bento components made in order for the assembling process to go smoothly.
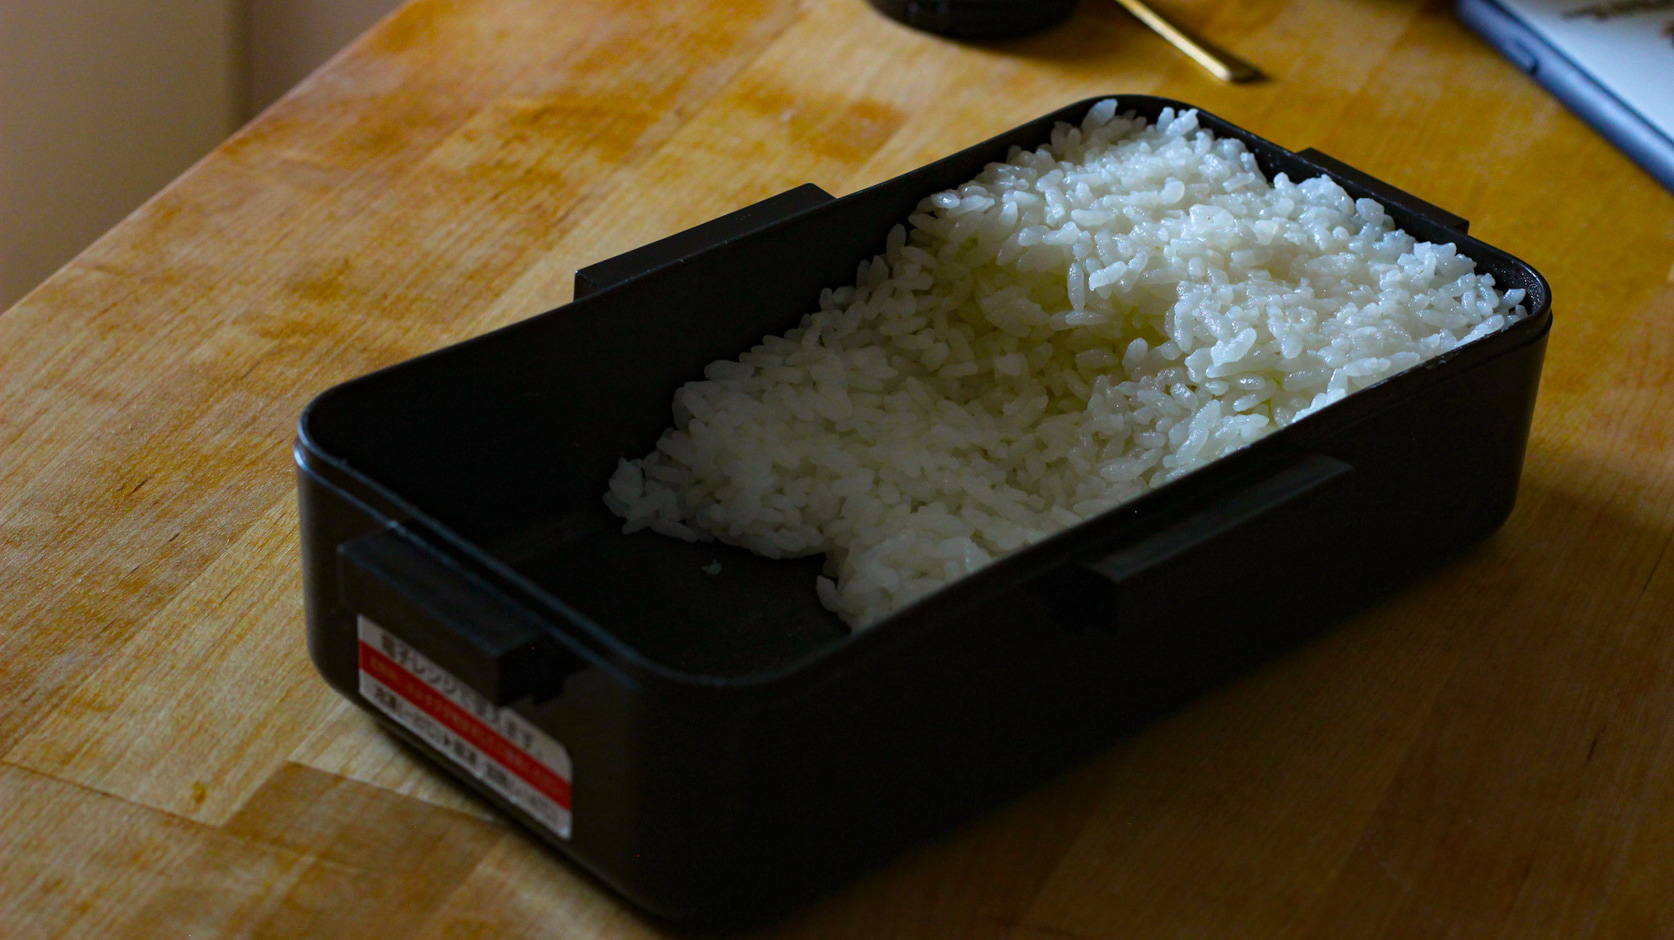
Starting with the rice, as this will be the cornerstone of our bento, we have to first decide on the shape. A simple rectangle of rice will always work but for those who want to create a more flowing-style of bento a “ramp” of rice leading to a plateau usually is the best base.
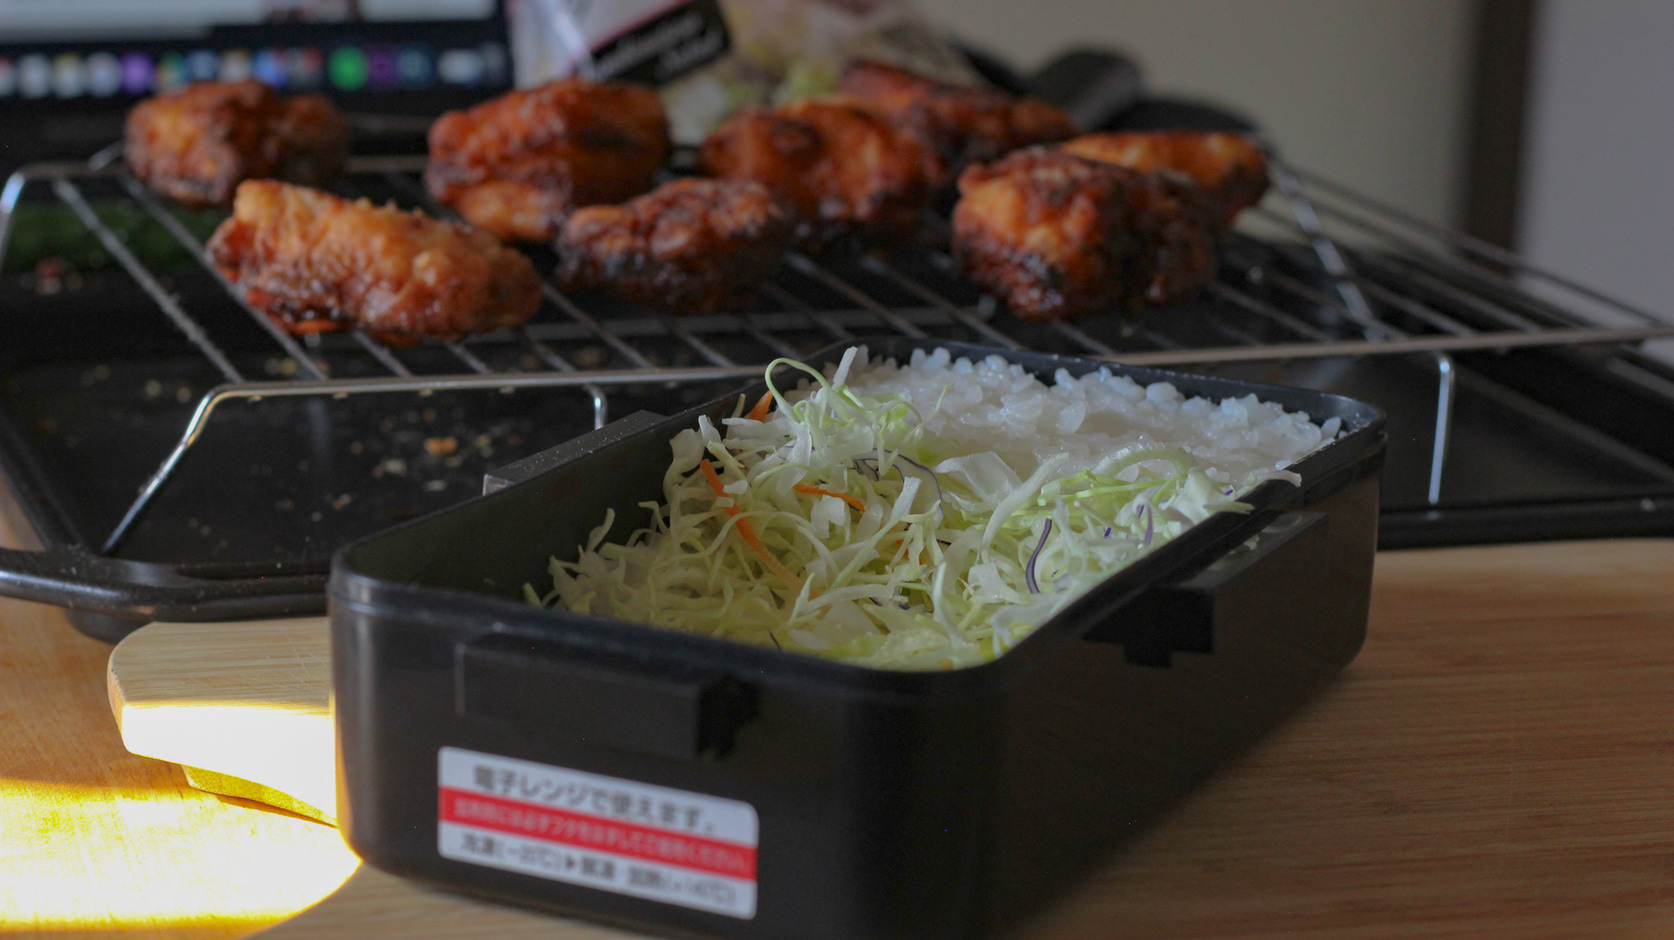
Just like the double-decker bento box we want a for the bento to look good but also be a well-balanced meal. This time we’re going to use shredded cabbage to secure our karaage. It gives us a nice green hue and also stops the karaage from rolling around as we place the rest of the ingredients in.
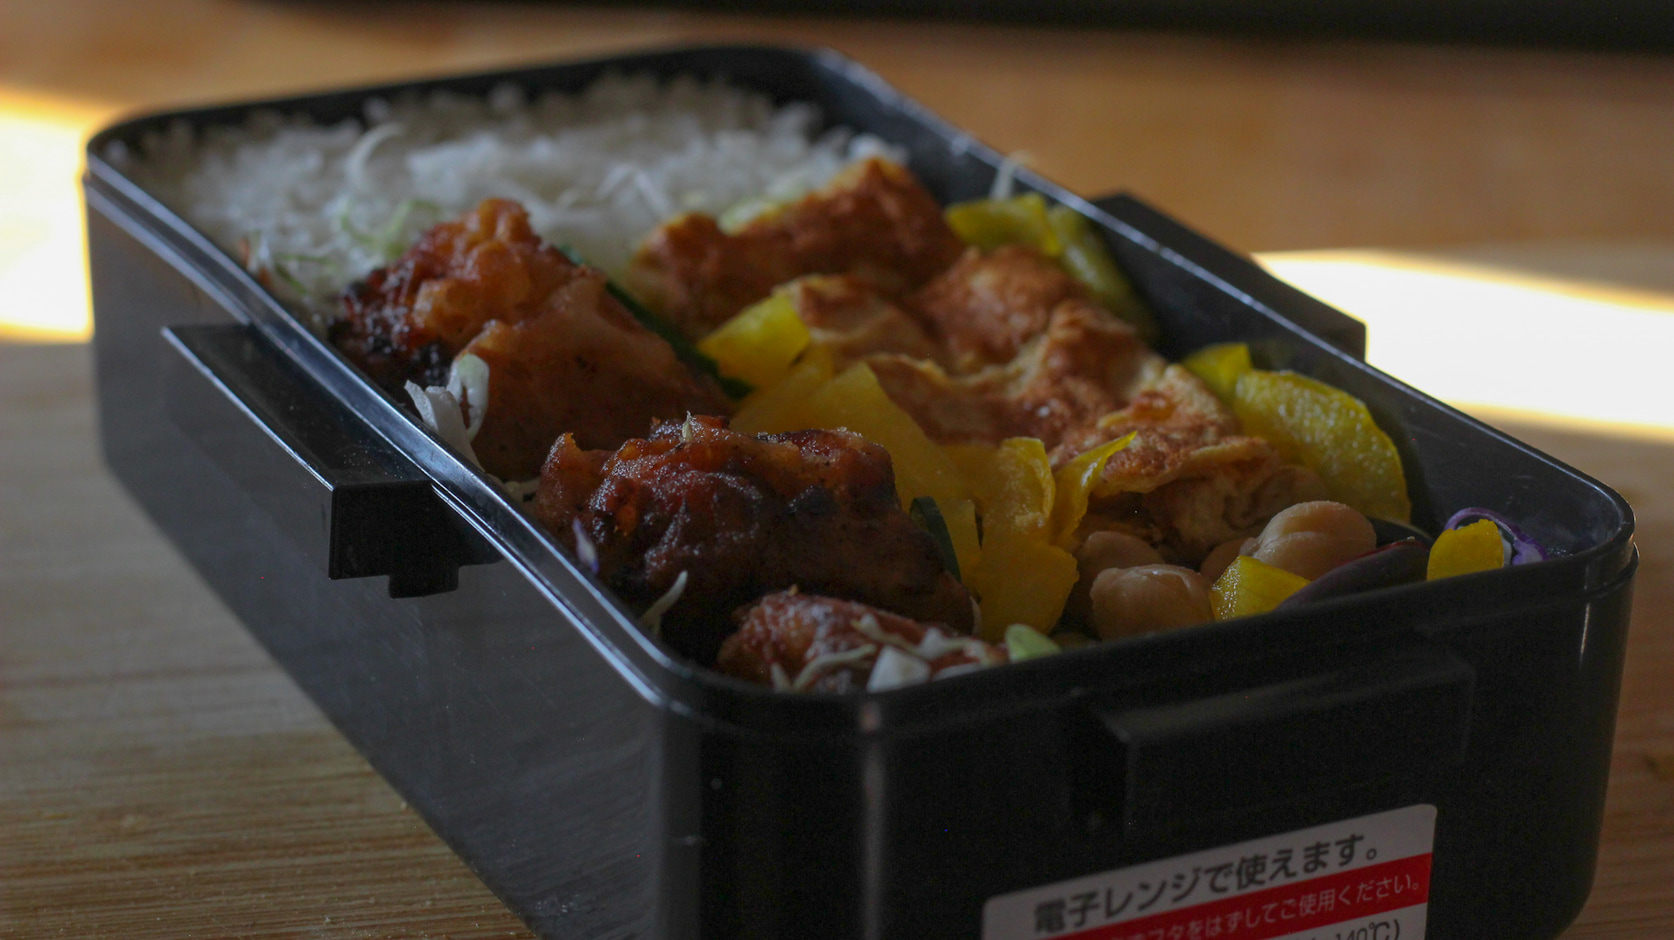
A staple of the bento is tamagoyaki – a Japanese omelet flavored with dashi, mirin and soy sauce. This dish is easy enough to create but perfectly made light and fluffy tamagoyaki is truly the goal. Check out this video if you’re interested in perfecting your own tamagoyaki.

An Onigiri Bento
The onigiri is a blank slate and one is always free to experiment with different fillings and spices but for this bento, a tuna-mayo, simple salt and then finally a furikake, or Japanese rice seasoning, onigiri is perfect for the color balance I’m looking for.

For the onigiri bento, it’s best to separate each individual onigiri with a whole lettuce leaf, or as much as needed to stop the onigiri from touching one another. This will stop the onigiri from sticking together. The lettuce leaf also adds a much-needed splash of color to an otherwise dull bento.
Pro tip: For those, like me, who aren’t yet confident in their onigiri crafting skills your local 100 yen store will sell onigiri crafting molds. These molds can be used by anyone making onigiri crafting a fun activity to do with young kids.
Updated On April 26, 2021