When it comes to making simple holidays convoluted, Japan takes the gold medal. Valentine’s Day in Japan is a two-day affair: February 14 is a day where women will gift chocolate to the men and March 14 is when the men return the favor with expensive gifts. But chocolate really takes the lead in being the first choice of treats this time of year and it’s not uncommon for couples to gift each other handmade chocolate. There is also giri-choco, chocolate salary women gift their male superiors and co-workers and tomo-choco, chocolate given between friends.
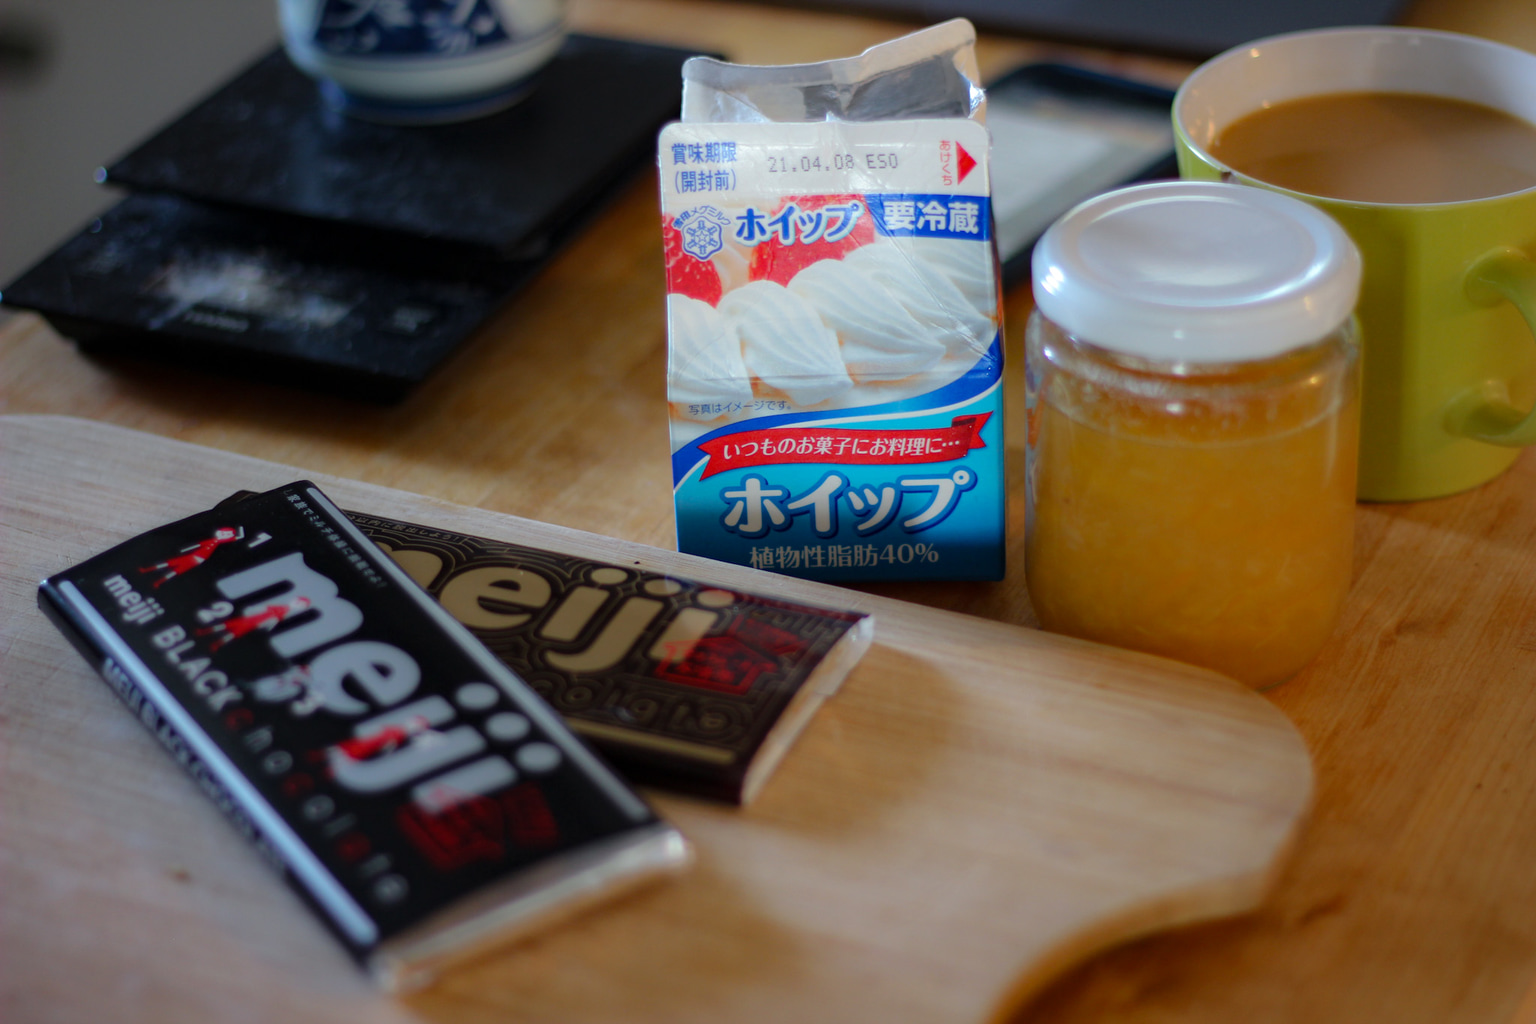
Since most of us are working from home, forget about giri-choco this year and instead, show a little love to your friends by leveling up your plain ol’ tomo-choco. No more shall our friends suffer through a wave of store-bought Black Thunder bars and Meiji packs! Here are four simple and fun chocolate making adventures you can go on in the comfort of your own Tokyo kitchen.
1. Chocolate Chunk Muffin
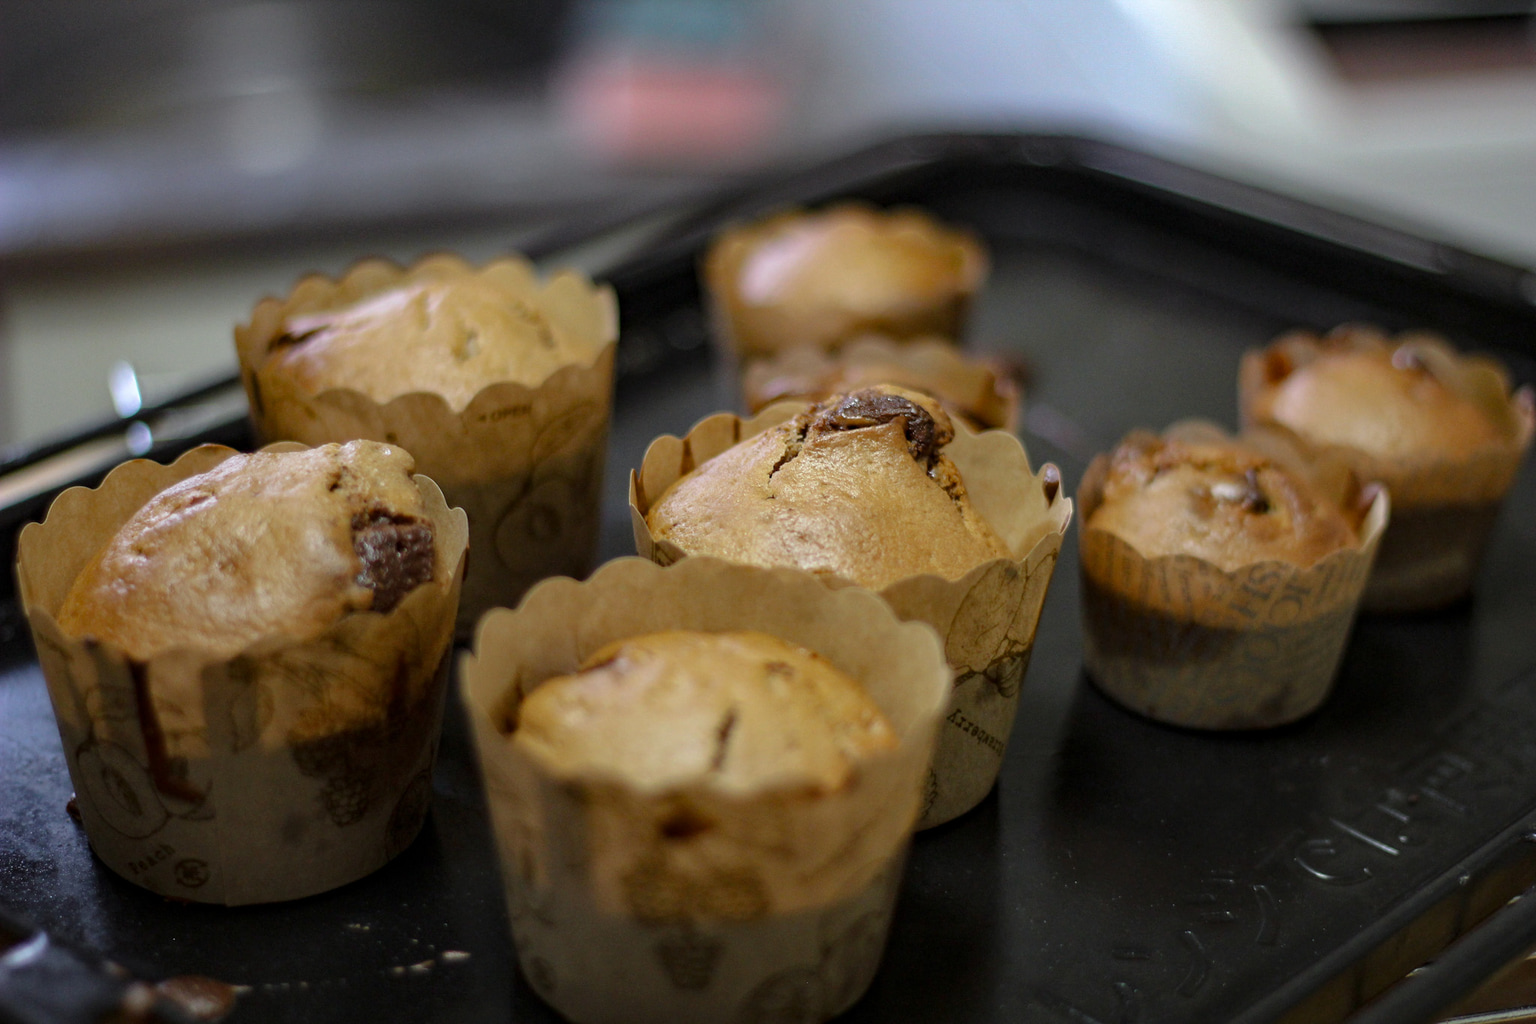
Perhaps the simplest thing on this list, besides store-bought chocolate, the classic chocolate chunk muffin is a crowd-pleaser of a treat. For this simple recipe you’ll need:
- 125g Plain flour
- 25g Cocoa powder
- 1tsb Baking powder
- 1 large egg
- 60g Sugar
- 2tbsp Vegetable oil (or 10g of melted butter)
- 100ml Whole milk
- 50g Chocolate (roughly chopped)
- 20g Walnuts (optional)
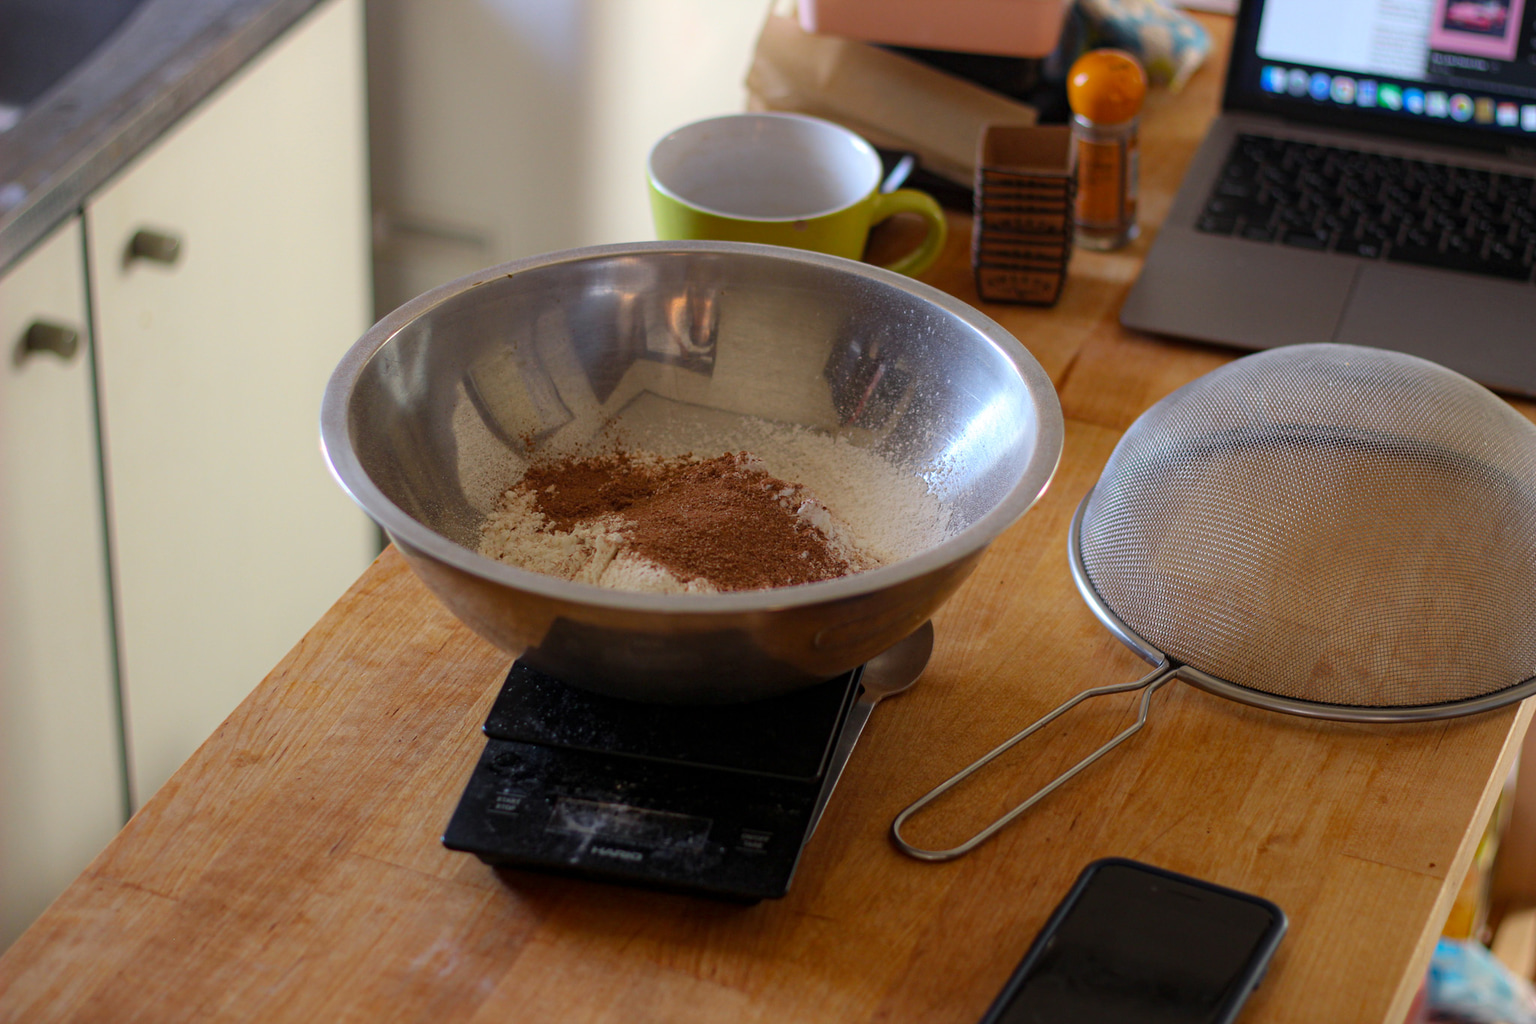
Start by preheating your oven to 180 degrees. Sift the flour and cocoa powder into a large mixing bowl and add your baking powder. In a separate bowl, add your melted butter, milk, large egg and sugar. Whisk the wet ingredients together until combined. Add the wet ingredients into the flour and cocoa powder mixture bit by bit, making sure to whisk thoroughly after every pour. Once combined you should be left with a smooth somewhat pourable chocolatey batter.
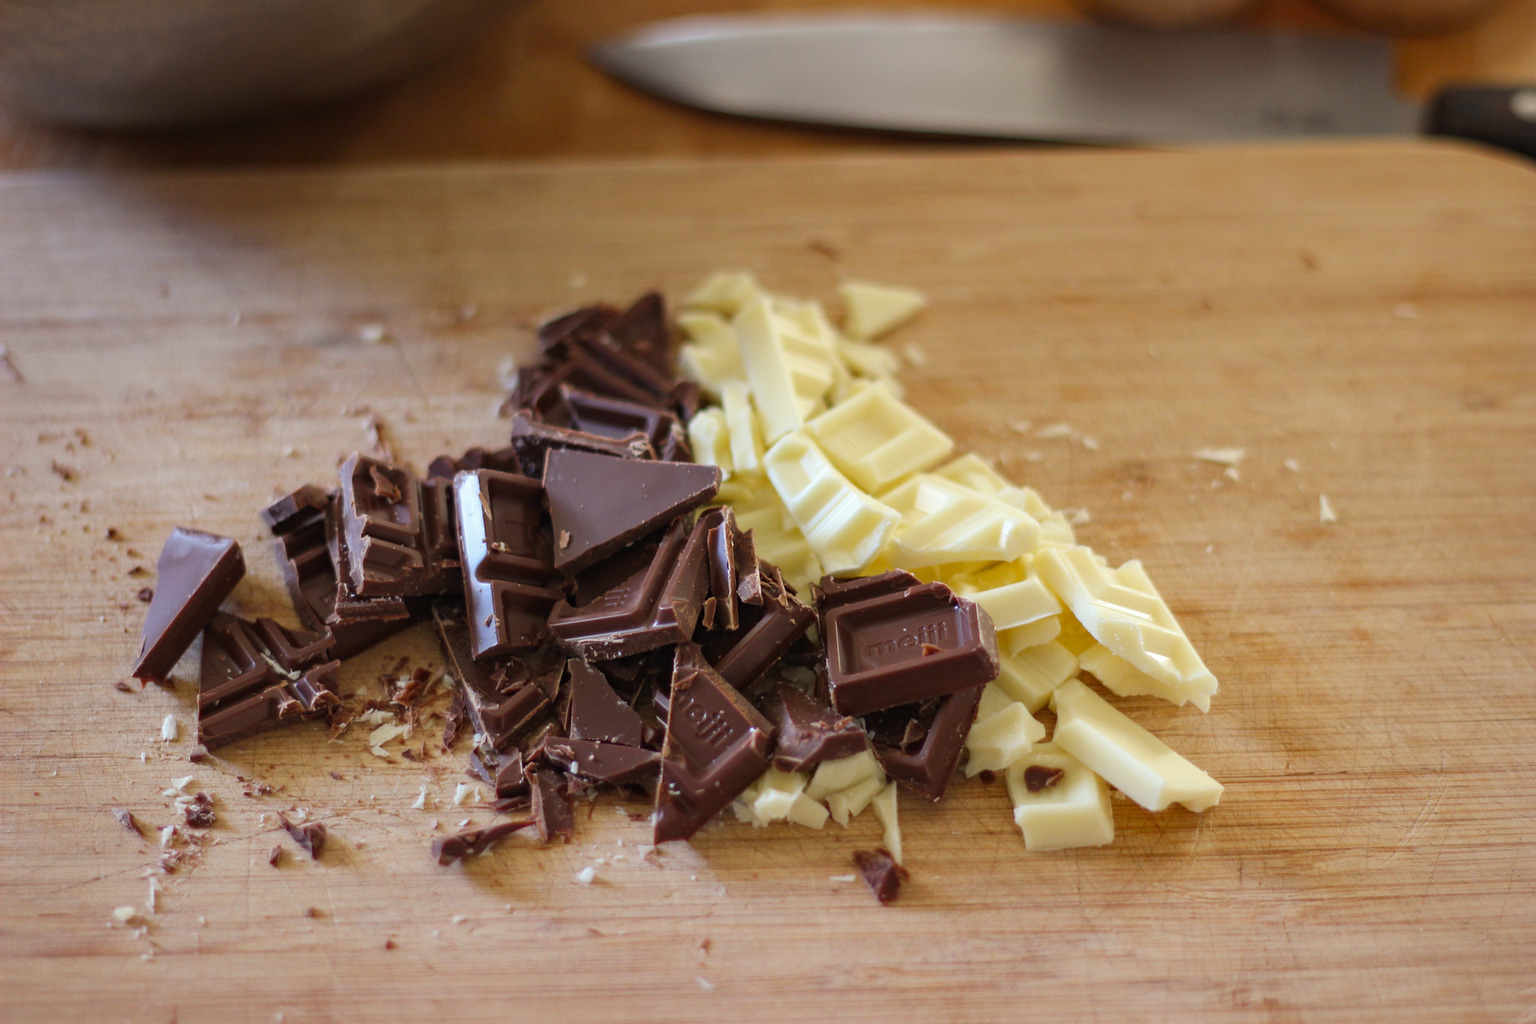
Slice up your chocolate into large chunks and fold it gently into the batter being careful not to over mix it. It’s at this stage that you can add any other additions to the batter, though walnuts usually work pretty well with this recipe.
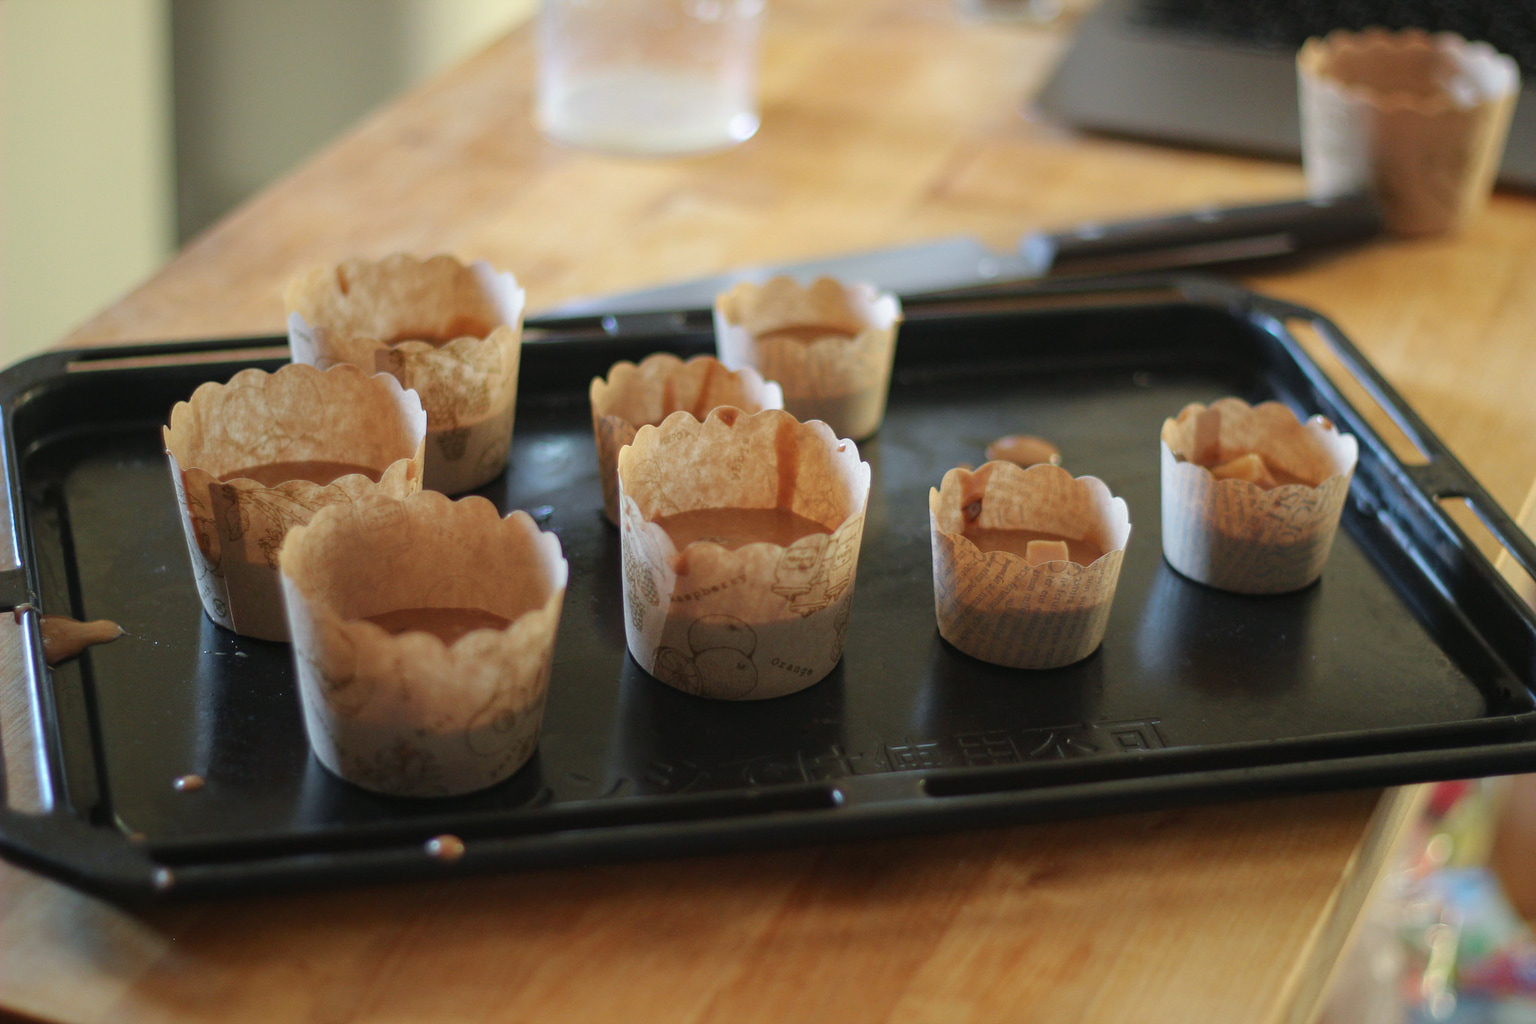
Fill each muffin case to around 60-65% capacity before placing them on a baking tray to be baked for 25 minutes. Remember the muffins are going to rise and so overfilling cases will lead to spilling, and no one wants a messy muffin. Once fully baked take them out and leave them to cool before attempting any further decorating.
Pro Tip: Daiso has adorable oven-safe muffin cases of all sizes, especially around Valentine’s Day.
2. Adult Marshmallow Rice Treats
These fun treats are a cute easily changeable chocolate snack perfect for any Valentine’s Day gift. For this recipe you’ll need:
- 15g Puffed rice (you can find this in Japanese snack stores)
- 20g Butter
- 60g Marshmallows
- 50g Chocolate for coating
- 10ml Milk
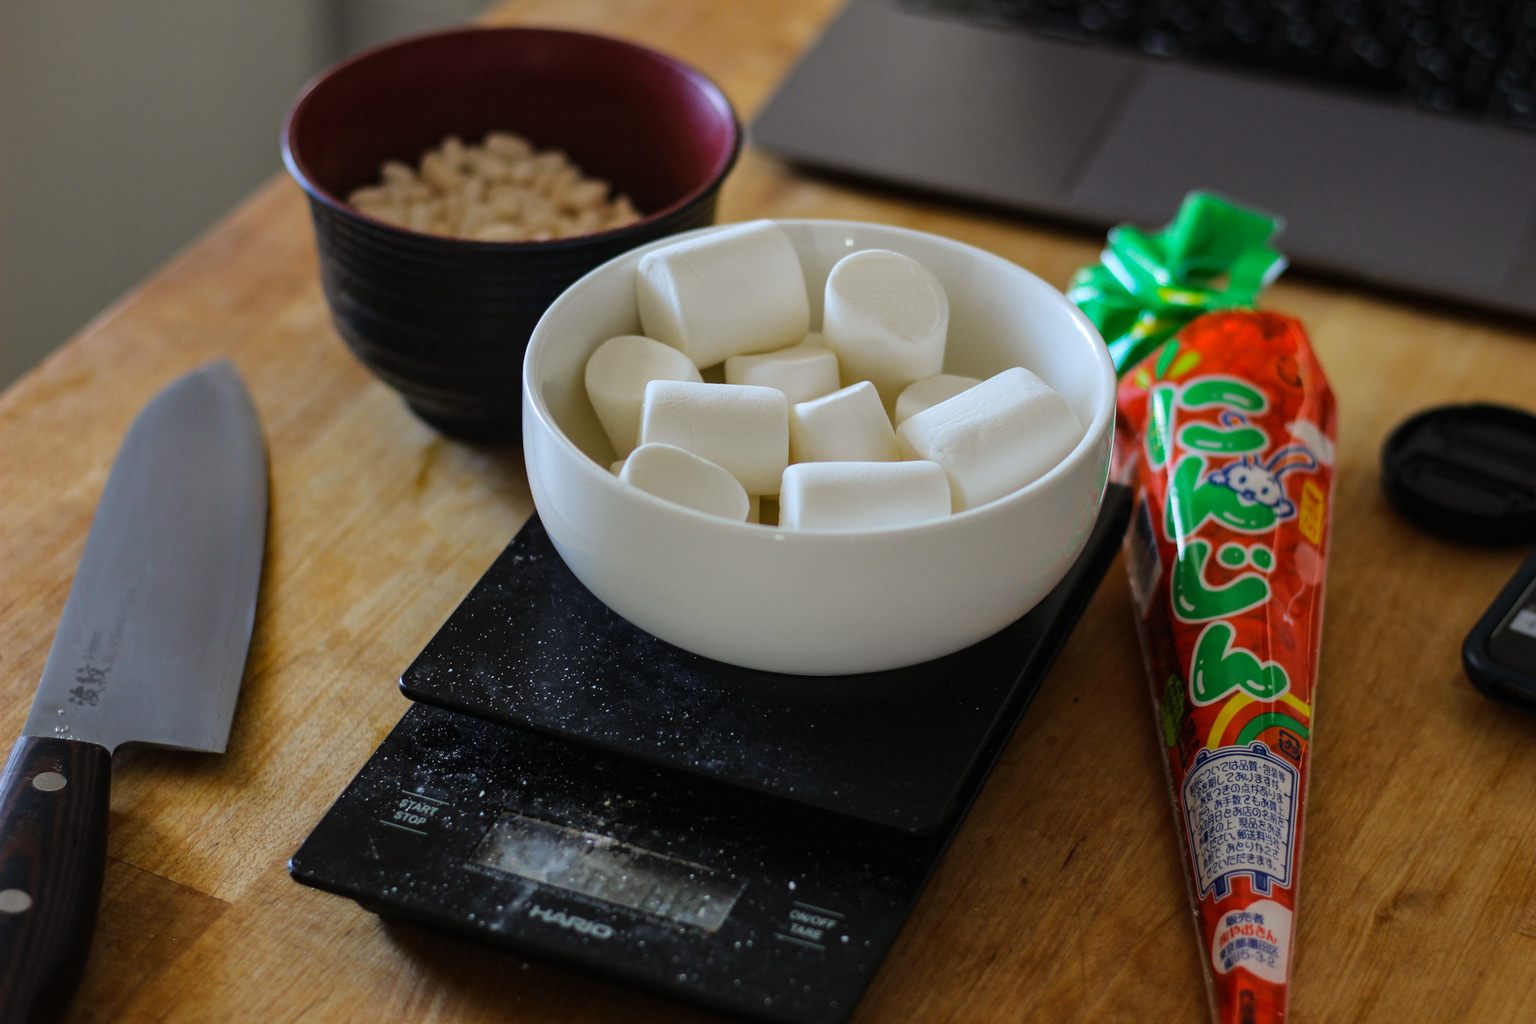
Start by weighing all your ingredients out and place them in bowls because once you start the marshmallow making process, you really won’t be able to stop. Once that’s done, let’s get cooking.
Slowly melt your butter in a medium-size pot at around medium heat. You want the butter to melt, not brown, so be careful not to have the heat too high. Remember to keep the butter moving as this will stop it from browning. Once the butter is all melted, turn the heat down to low and add the marshmallows to the pot. Melting the marshmallows may take a little but try not to rush the process. If you turn the heat too high, you’re in danger of burning the butter and marshmallow mixture.
The mixture should become a weird melted marshmallow-butter slurry after a few minutes. Take the marshmallow slurry off the heat and add the rice puffs. keep the mixture moving until all the rice is evenly distributed.
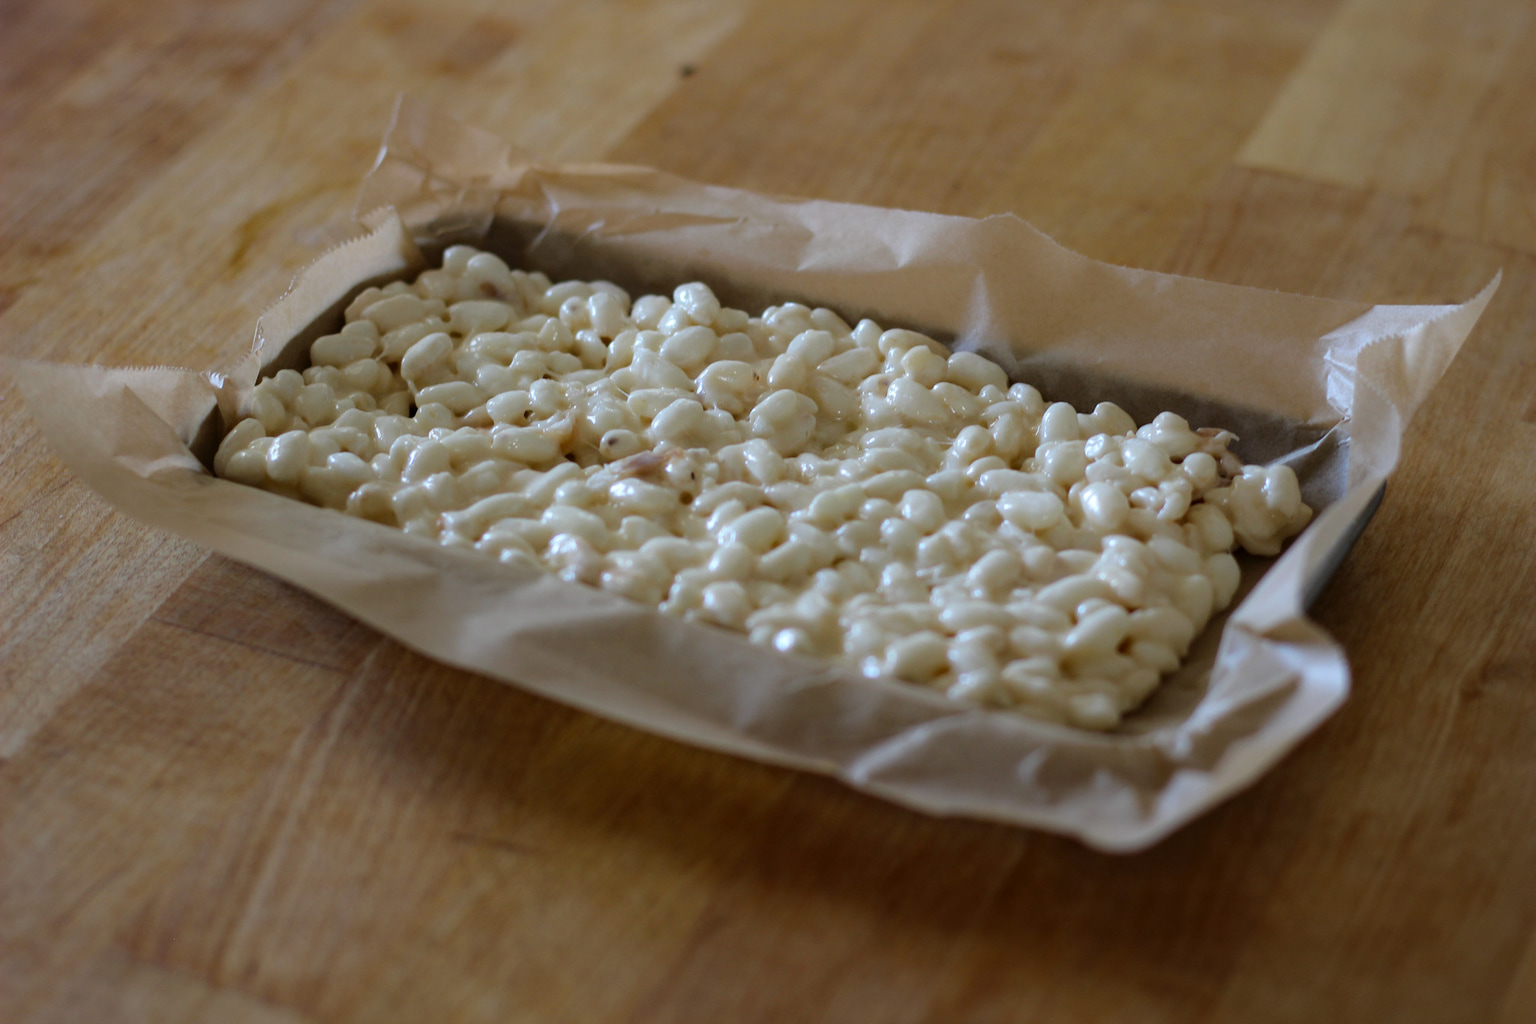
Place the mixture onto a parchment-lined baking sheet to cool and settle. You want to get your mixture into as much a square as possible. Once the mixture cools, whatever shape it’s in is the way it’ll stay.
Pro Tip: Shape the rice mixture into a big rectangle sheet that way different shapes can be easily cut out of it.
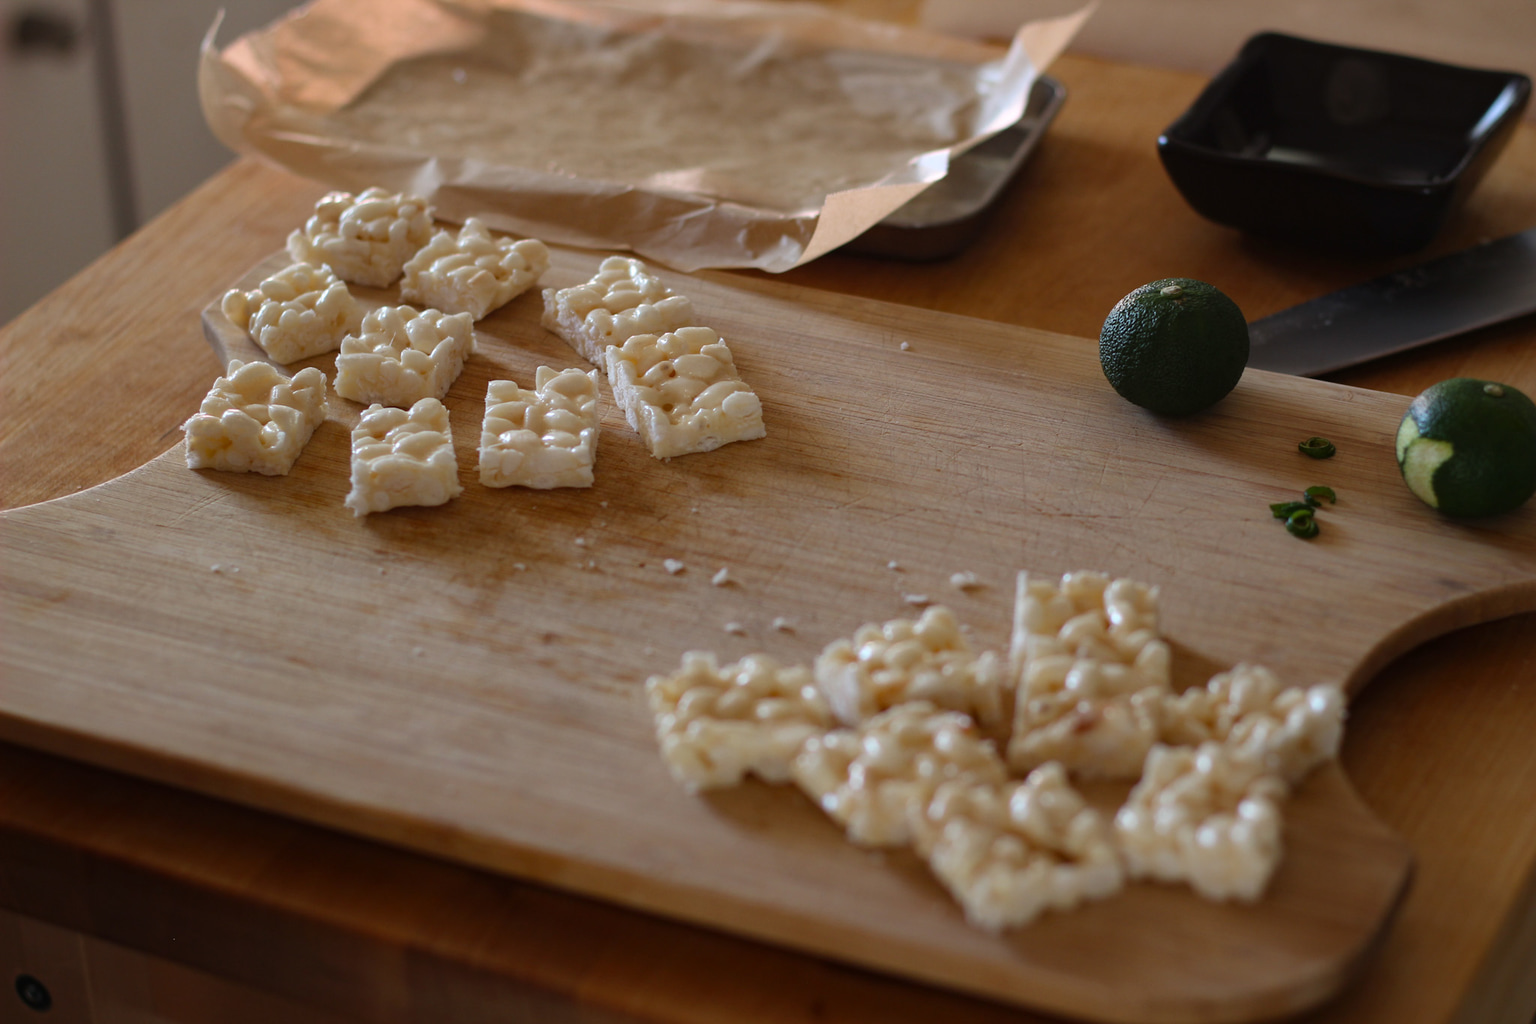
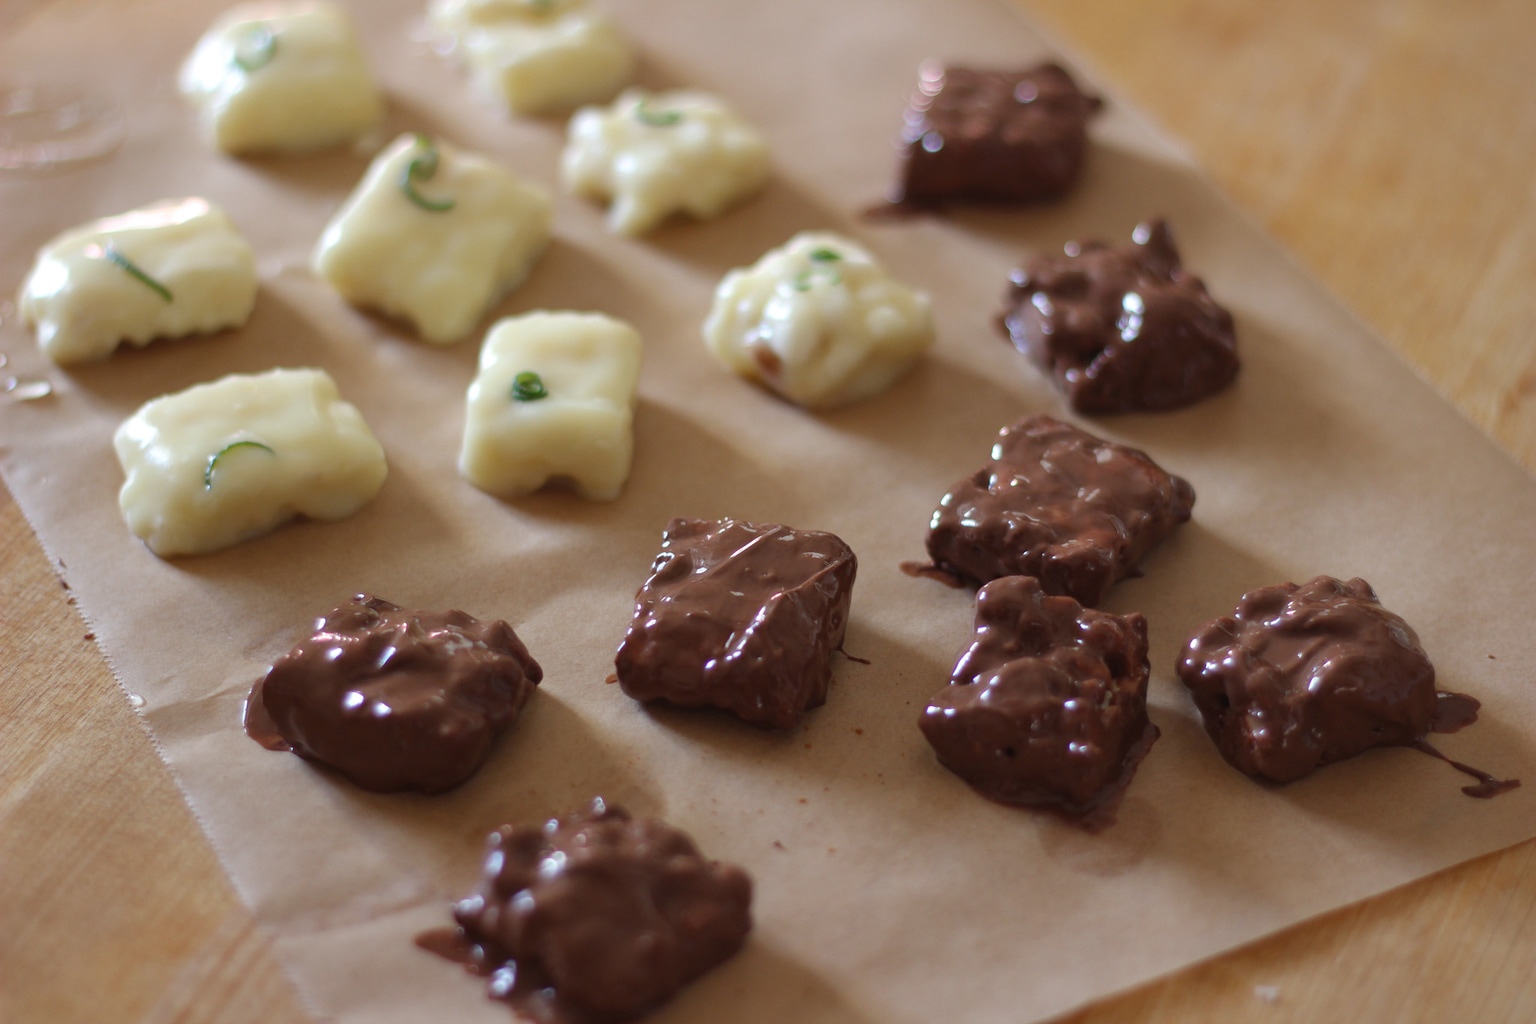
Let the marshmallow-rice mixture cool for a few minutes before slicing it into appropriate shapes. The best shapes are small bite-sized squares as they are the easiest to coat in chocolate. Melt your chocolate using your preferred method and prepare the squares for coating.
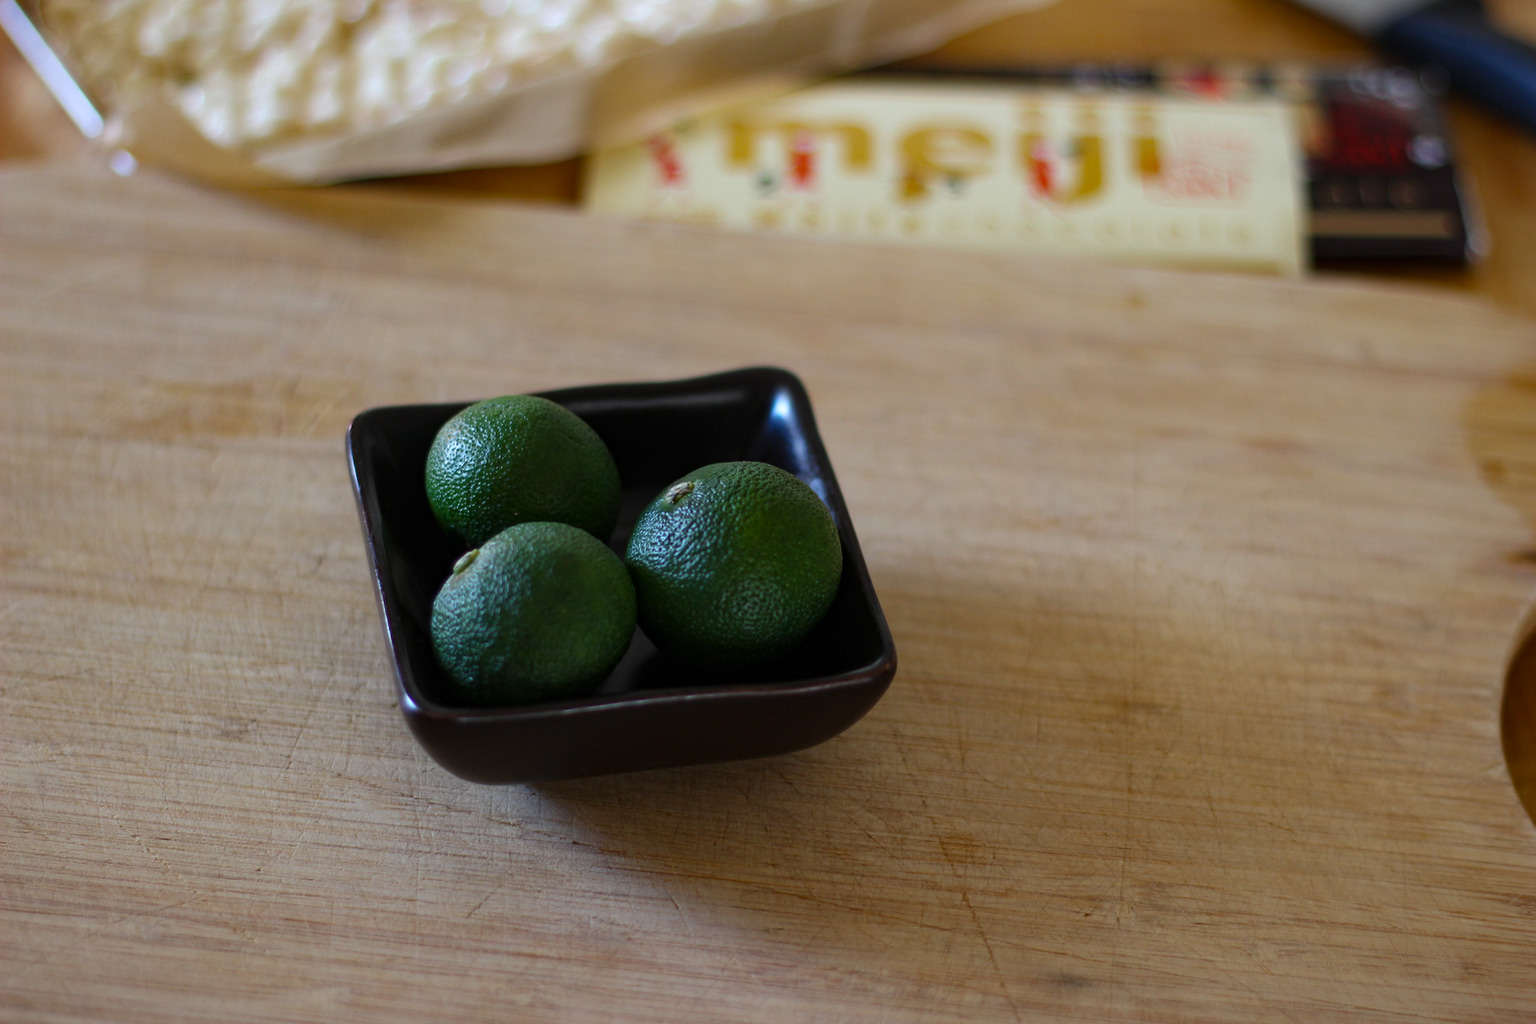
It’s at this stage that customization is key so feel free to decorate or spice the chocolate however you wish. For the white chocolate and sudachi bites, add the juice of 1 to 2 sudachi to the white chocolate as it melts and a little milk or butter to give the chocolate a silky finish.
Coat the squares in chocolate and place them down on some parchment to cool. While the chocolate is still melted, decorate it as you see fit. Place the decorated chocolate squares into the fridge for a few hours to allow the chocolate to cool completely.
Pro Tip: If you want to add any fruit peel, nuts or additions to the squares add them immediately after pouring the chocolate, before it has completely cooled.
3. Chocolate Truffles
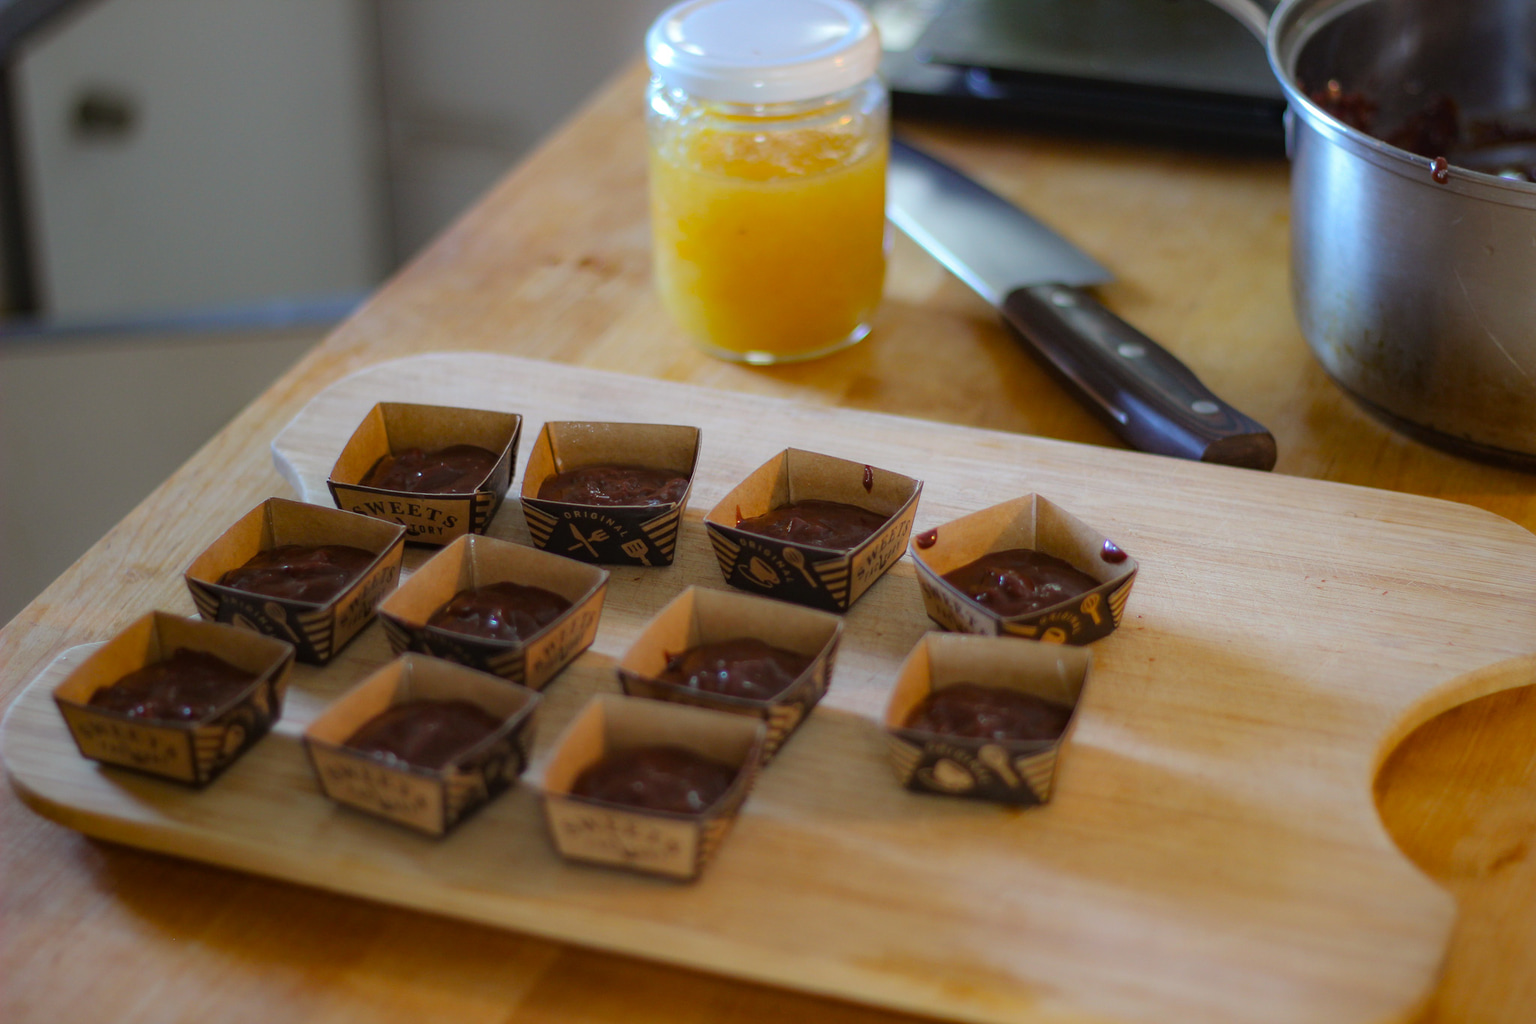
This is a standard of chocolate making, infinitely customizable this base recipe should be a staple in any chocolate making arsenal. For this delectable treat you will need:
- 100g Chocolate (finely chopped)
- 50ml Cream (should equate to around half the amount of chocolate)
- 30g Jam (for this recipe: homemade yuzu jam)
-or- - 5g of Matcha Powder or some kind of flavor powder
- 10g Nuts
- 20g Butter
As this recipe is infinitely customizable, you can create smaller batches to test different flavor combinations.
Start by slowly heating your cream but don’t allow the cream to boil, remember to keep mixing the cream to stop it from burning to sticking to the bottom of the pot. Once the cream is hot enough, add your finely chopped chocolate to the cream and mix until fully combined. If you are creating this recipe with jam, it’s at this stage where you should add it to the mixture.
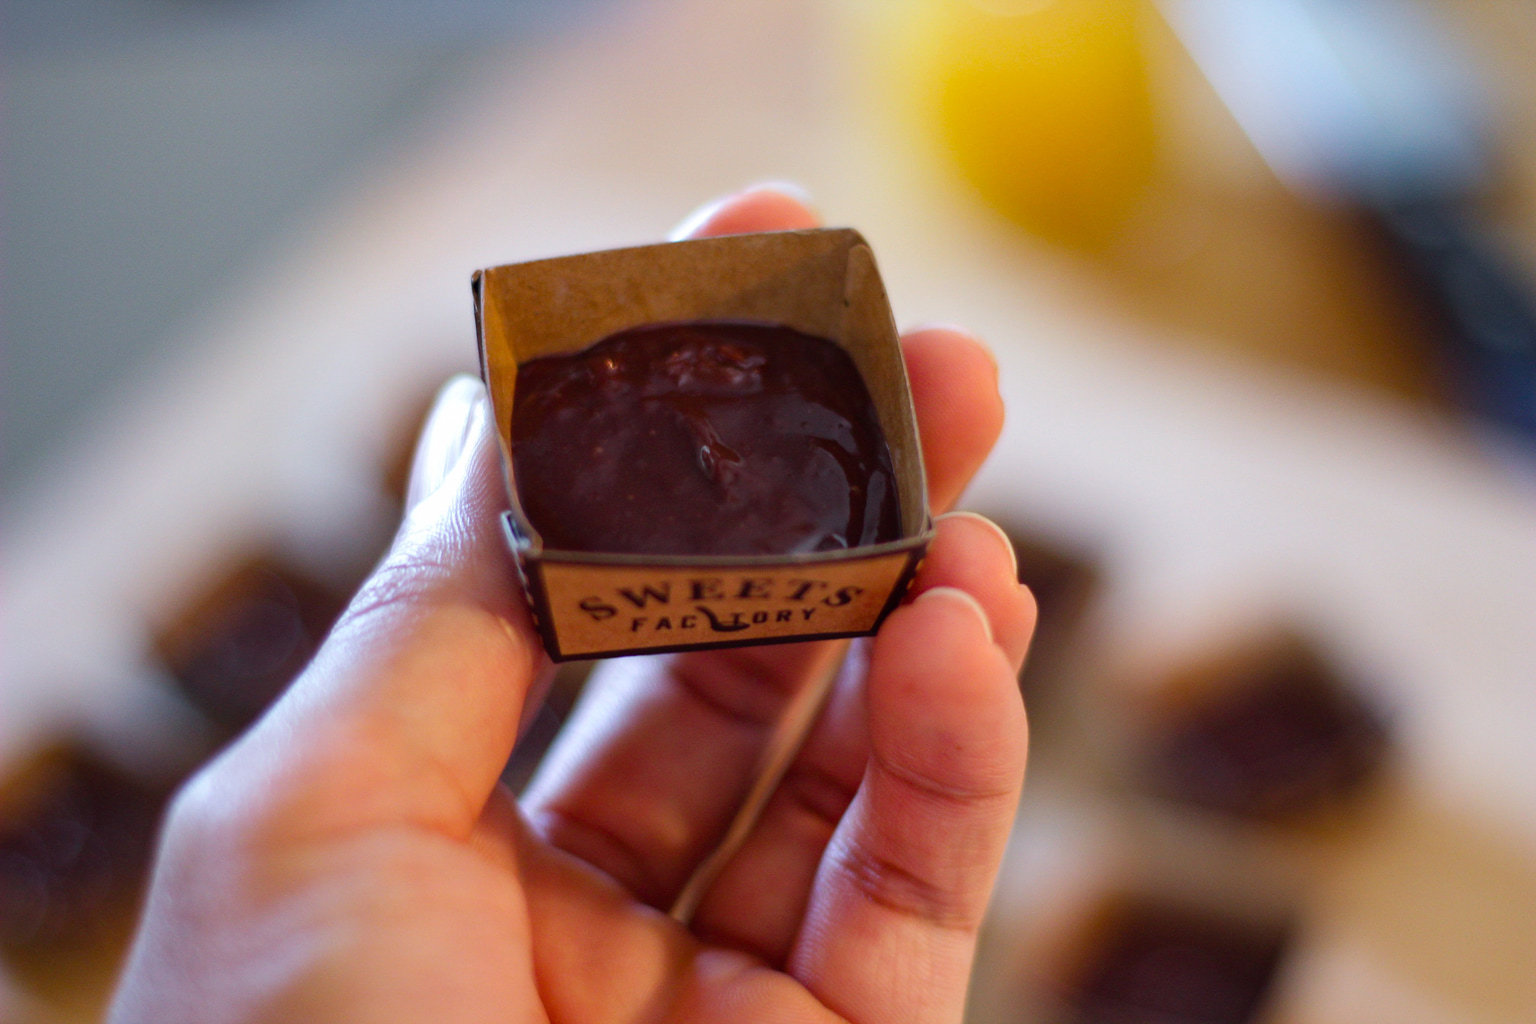
If you have a piping bag, pipe your chocolate mixture onto parchment paper and leave it to cool. Once cooled, coat the truffle with melted chocolate and leave it to cool again.
For those without a piping bag, you can also pour the chocolate into nonstick molds and leave them to cool. Once cooled, you can dip the truffles into chocolate or dust them with cocoa powder for a more traditional truffle.
The truffles can also be directly placed in small containers and placed in the fridge to cool.
4. Simple Chocolate Fudge
Fudge in Japan can be questionable at best unless it’s coming from a specialist store. Creating your own fudge at home does seem like a difficult process but with this very simple two-ingredient recipe, you can create your own delicious fudge to share with your friends. For this recipe you’ll need:
- 200g Dark Chocolate
- 240ml Condensed milk
- Unsalted butter for coating

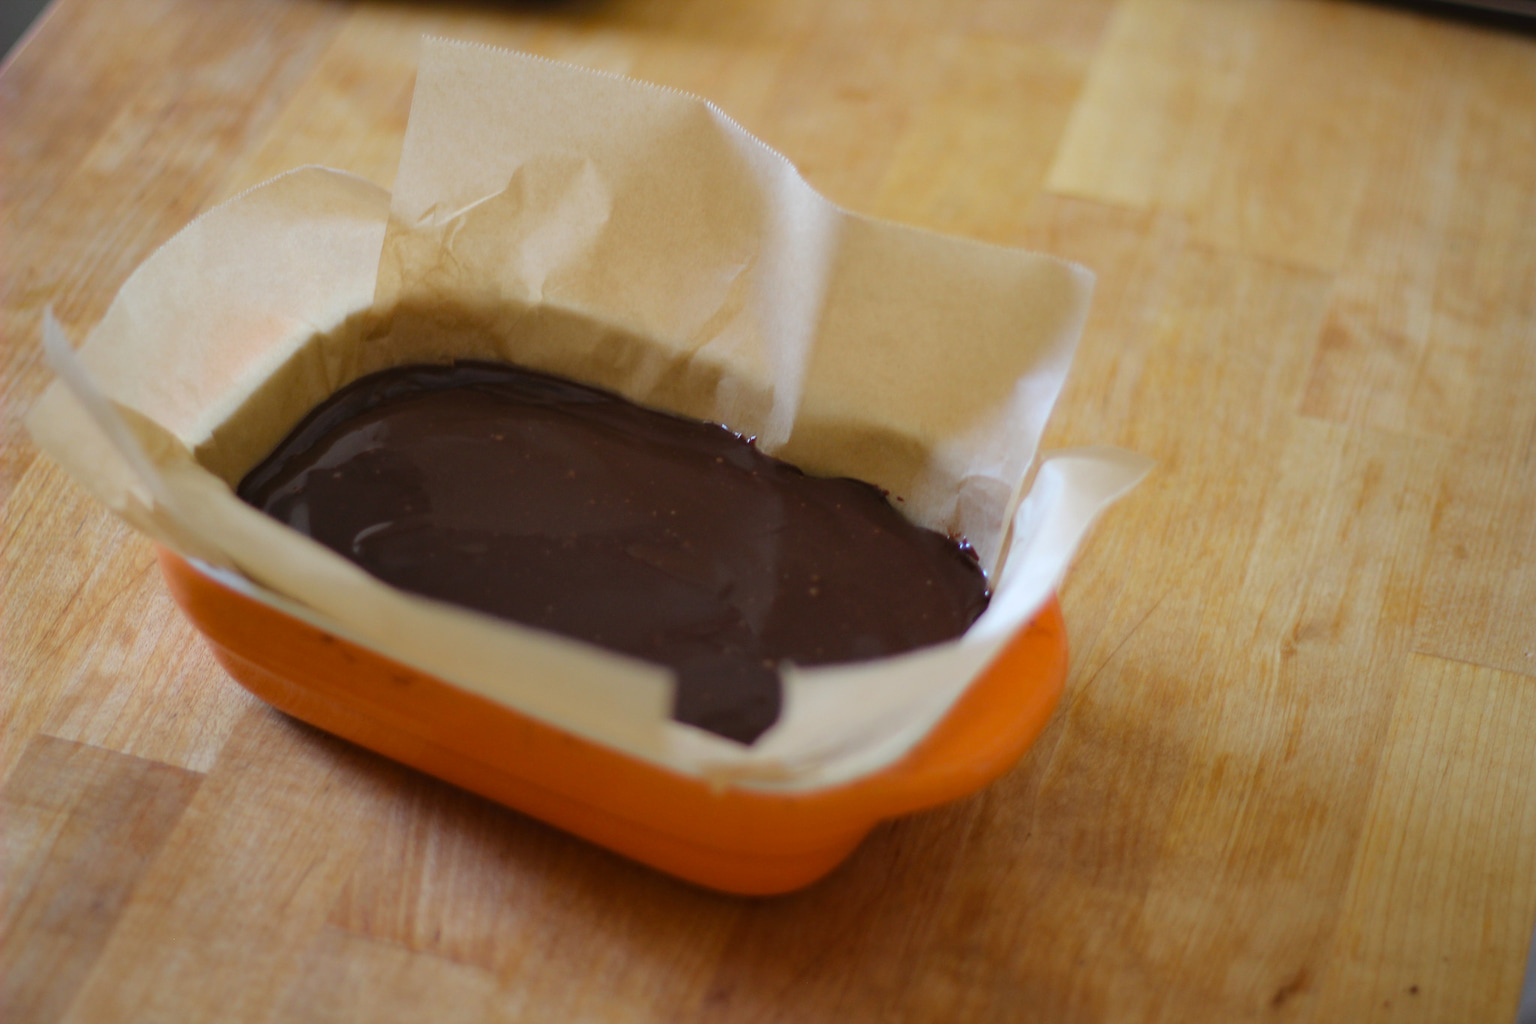
Start by finding an appropriate size pan or tin that will act as the cooling apparatus for the fudge later. Line the pan with a few sheets of parchment paper and coat with a healthy layer of unsalted butter. This will allow the fudge to be more easily removed once cooled.
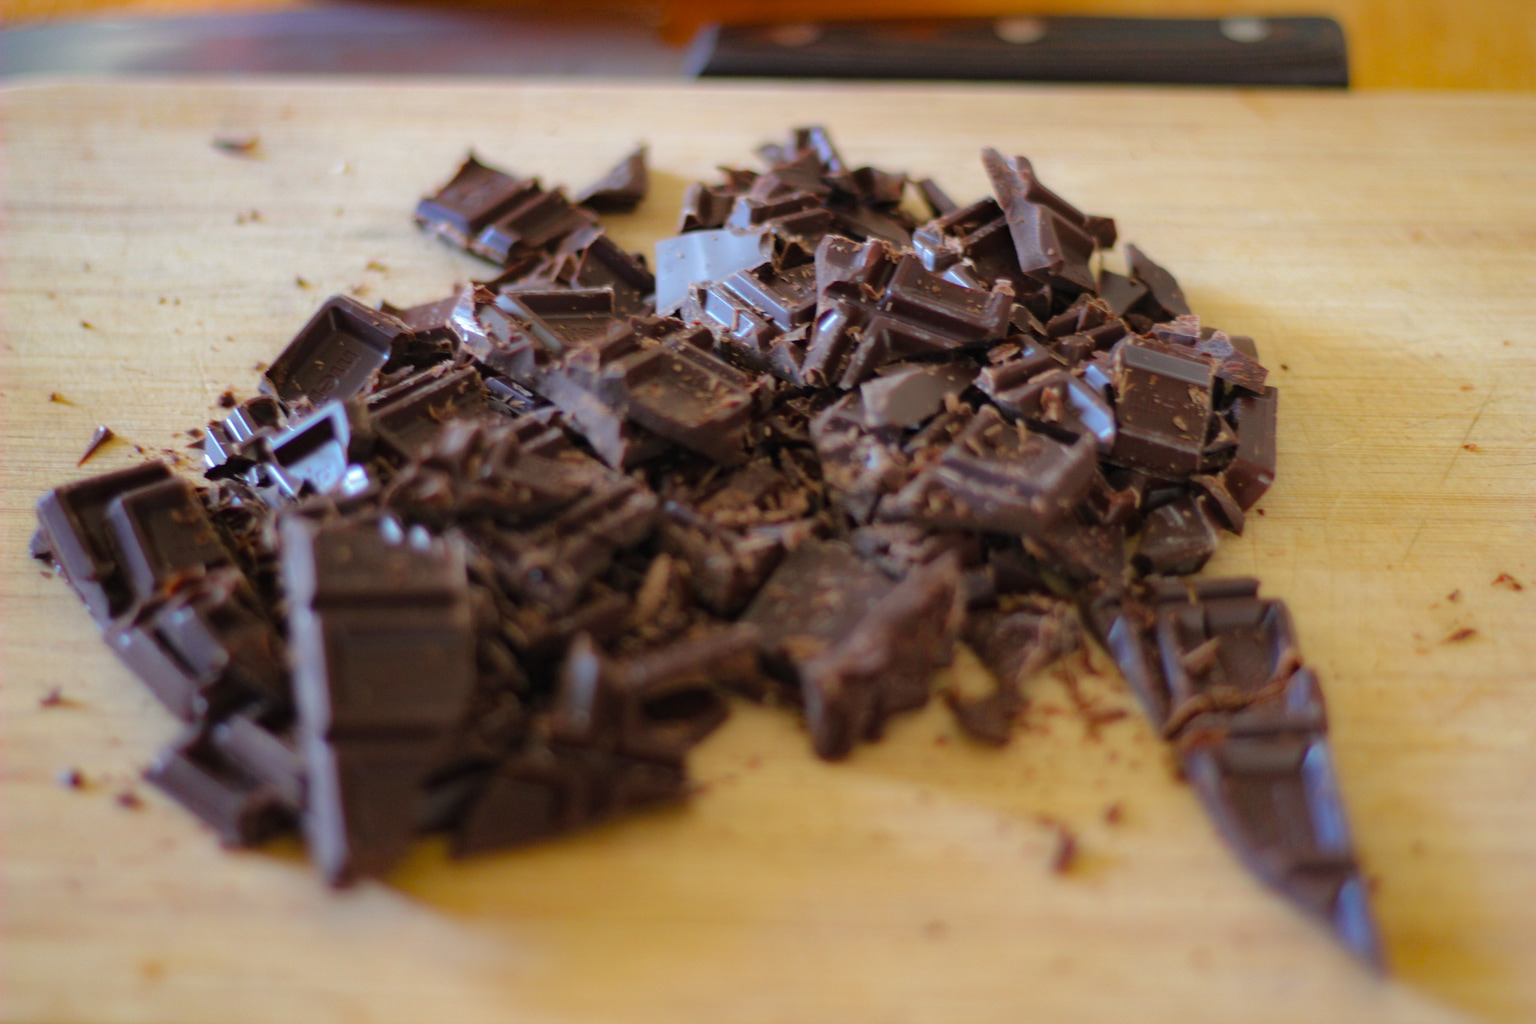
Roughly cut your dark chocolate into chunks and place them to the side. In a small to medium size pot slowly heat your condensed milk until steaming; we aren’t trying to boil the condensed milk just heat it to a level where the chocolate can easily melt. Once heated, add the chocolate and stir continuously until the chocolate has melted and the mixture has fully combined. Here, we’re going to try tempering the chocolate, which means heating up the chocolate to a certain temperature before allowing it to cool in order to achieve a particular finish.
Heat to around 115 degrees before pouring it into your parchment-lined container for cooling. Be careful not to heat the fudge up too much. If it gets too hot before it cools, it will cause the sugars to crystalize creating an uneven flaky fudge. Add any flavorings or extras to the fudge before it reaches 115 degrees.
Allow the fudge to cool in the fridge anywhere between 4-12 hours or until set all the way through. Once the fudge has set completely, take it out of the container and cut it up into manageable cubes.
Pro Tip: It can be a little difficult to find large cans of condensed milk in Japan and so for this recipe, we used two smaller containers of condensed milk and a little full-fat milk.
Updated On April 25, 2021