Little did I know that it would take over an hour, several layers, about twenty different ties in total for the kimono to stay put, and two very kind and patient ladies to help me out.
What I learned during that single session would normally take about twelve lessons or more to master, but despite how elaborate (and constricting!) the kimono can be, it only made me want to learn even more and do it all over again.
Kimono 101
Originally, kimono was the Japanese word interchangeable with our ‘clothing’. In more recent years, the word has been used to refer specifically to traditional Japanese clothing worn mostly for special occasions: weddings, tea ceremonies and other formal events.
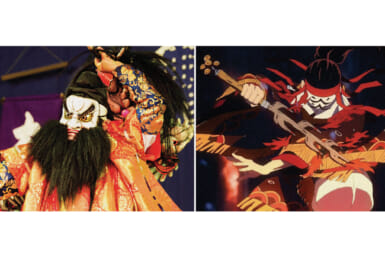
Sumo wrestlers also wear kimono when appearing out in public and, although they may not be quite as graceful as those older women I sometimes see and admire around the city, the garment is nonetheless a gorgeous cultural token.
A kimono is in fact so intricate and complex that special classes are required to learn how to put one on – don’t expect to just take it out of the closet and wrap it around you!
So how does it feel to wear a kimono?
I had always wondered what women wore under their kimono but was too shy to ask. Thankfully, the lovely instructors at Inspire Space in Hiroo made me feel so comfortable and they answered all my questions. I quickly found out that the dressing process begins with a special two-part undergarment, in the form of a long, narrow skirt-like cloth and a loose-fitting top to crisscross.

Yayoi Richards of Inspire Space Hiroo helps tie the obi
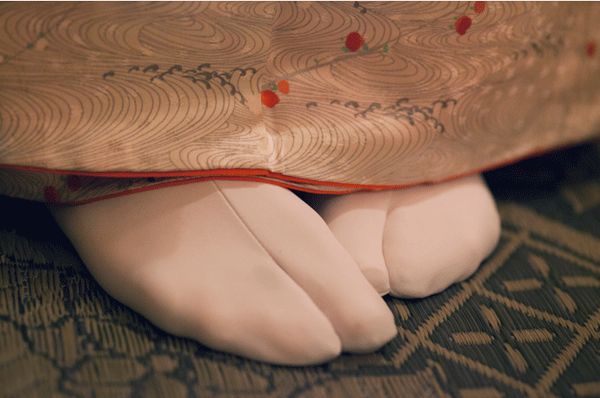
After stripping down to my underwear and putting on the special kimono underwear and tabi socks (ankle-high, divided-toe socks), I was ready to pile on all the other layers.
Interestingly, the kimono silhouette requires a straight figure, so a few towels were used around my waist to pad things up a little and conceal the gap between my hips and waist (I remember thinking at that moment that I should freely indulge in more cakes, as I needed to fill out the kimono!) Yet cakes may not be the best idea before putting on the garment, as everything has to be really, really tight.
What ensued was a series of layers and more ties to secure it all, special butterfly knots and tucking procedures and trying my best to follow and play copycat to the skilled instructor. Thankfully I had a stylist to my disposition and both instructors were extremely patient, so everything went smoothly.
With a kimono, it’s all about symmetry: from the way the stitches touch one another when you close the flap, to the way the patterns connect, or even the collar, which has to be pulled out just enough to match the back. There’s lots to learn – for example one significant step to keep in mind is the side on which you fold the garment; it should be the left over the right.
Right over left is reserved for deceased bodies at a funeral, an important distinction. The length of the kimono is also of the utmost importance; it should cover the ankles without quite grazing the floor.

Reiko Saito checks everything is in order with the writer’s kimono
Just when I thought as I was done, after nearly an hour and several tight ties later, it was time to put on the obi – the most difficult, but perhaps most beautiful part. The obi is a sash usually made of brocade and the women’s obi is a very conspicuous accessory, sometimes even more so than the kimono robe itself.
A fine formal obi might cost more than the rest of the entire outfit. This was the most physically challenging part, as it requires coordination (which I lack) and strength to pull over your head and tie it at the back by yourself. Learning how to tie the obi is another set of a dozen lessons, but luckily I benefited from a peek at the technique.
Thanks to Reiko Saito and Yayoi Richards of Inspire Space Hiroo, just one minute walk from Hiroo Station: See inspire-space.net for more information and to sign up for your own lesson.
All photos by Maaserhit Honda